Tarta de Nocilla blanca y negra / Black and white Nocilla Cake

nocilla3

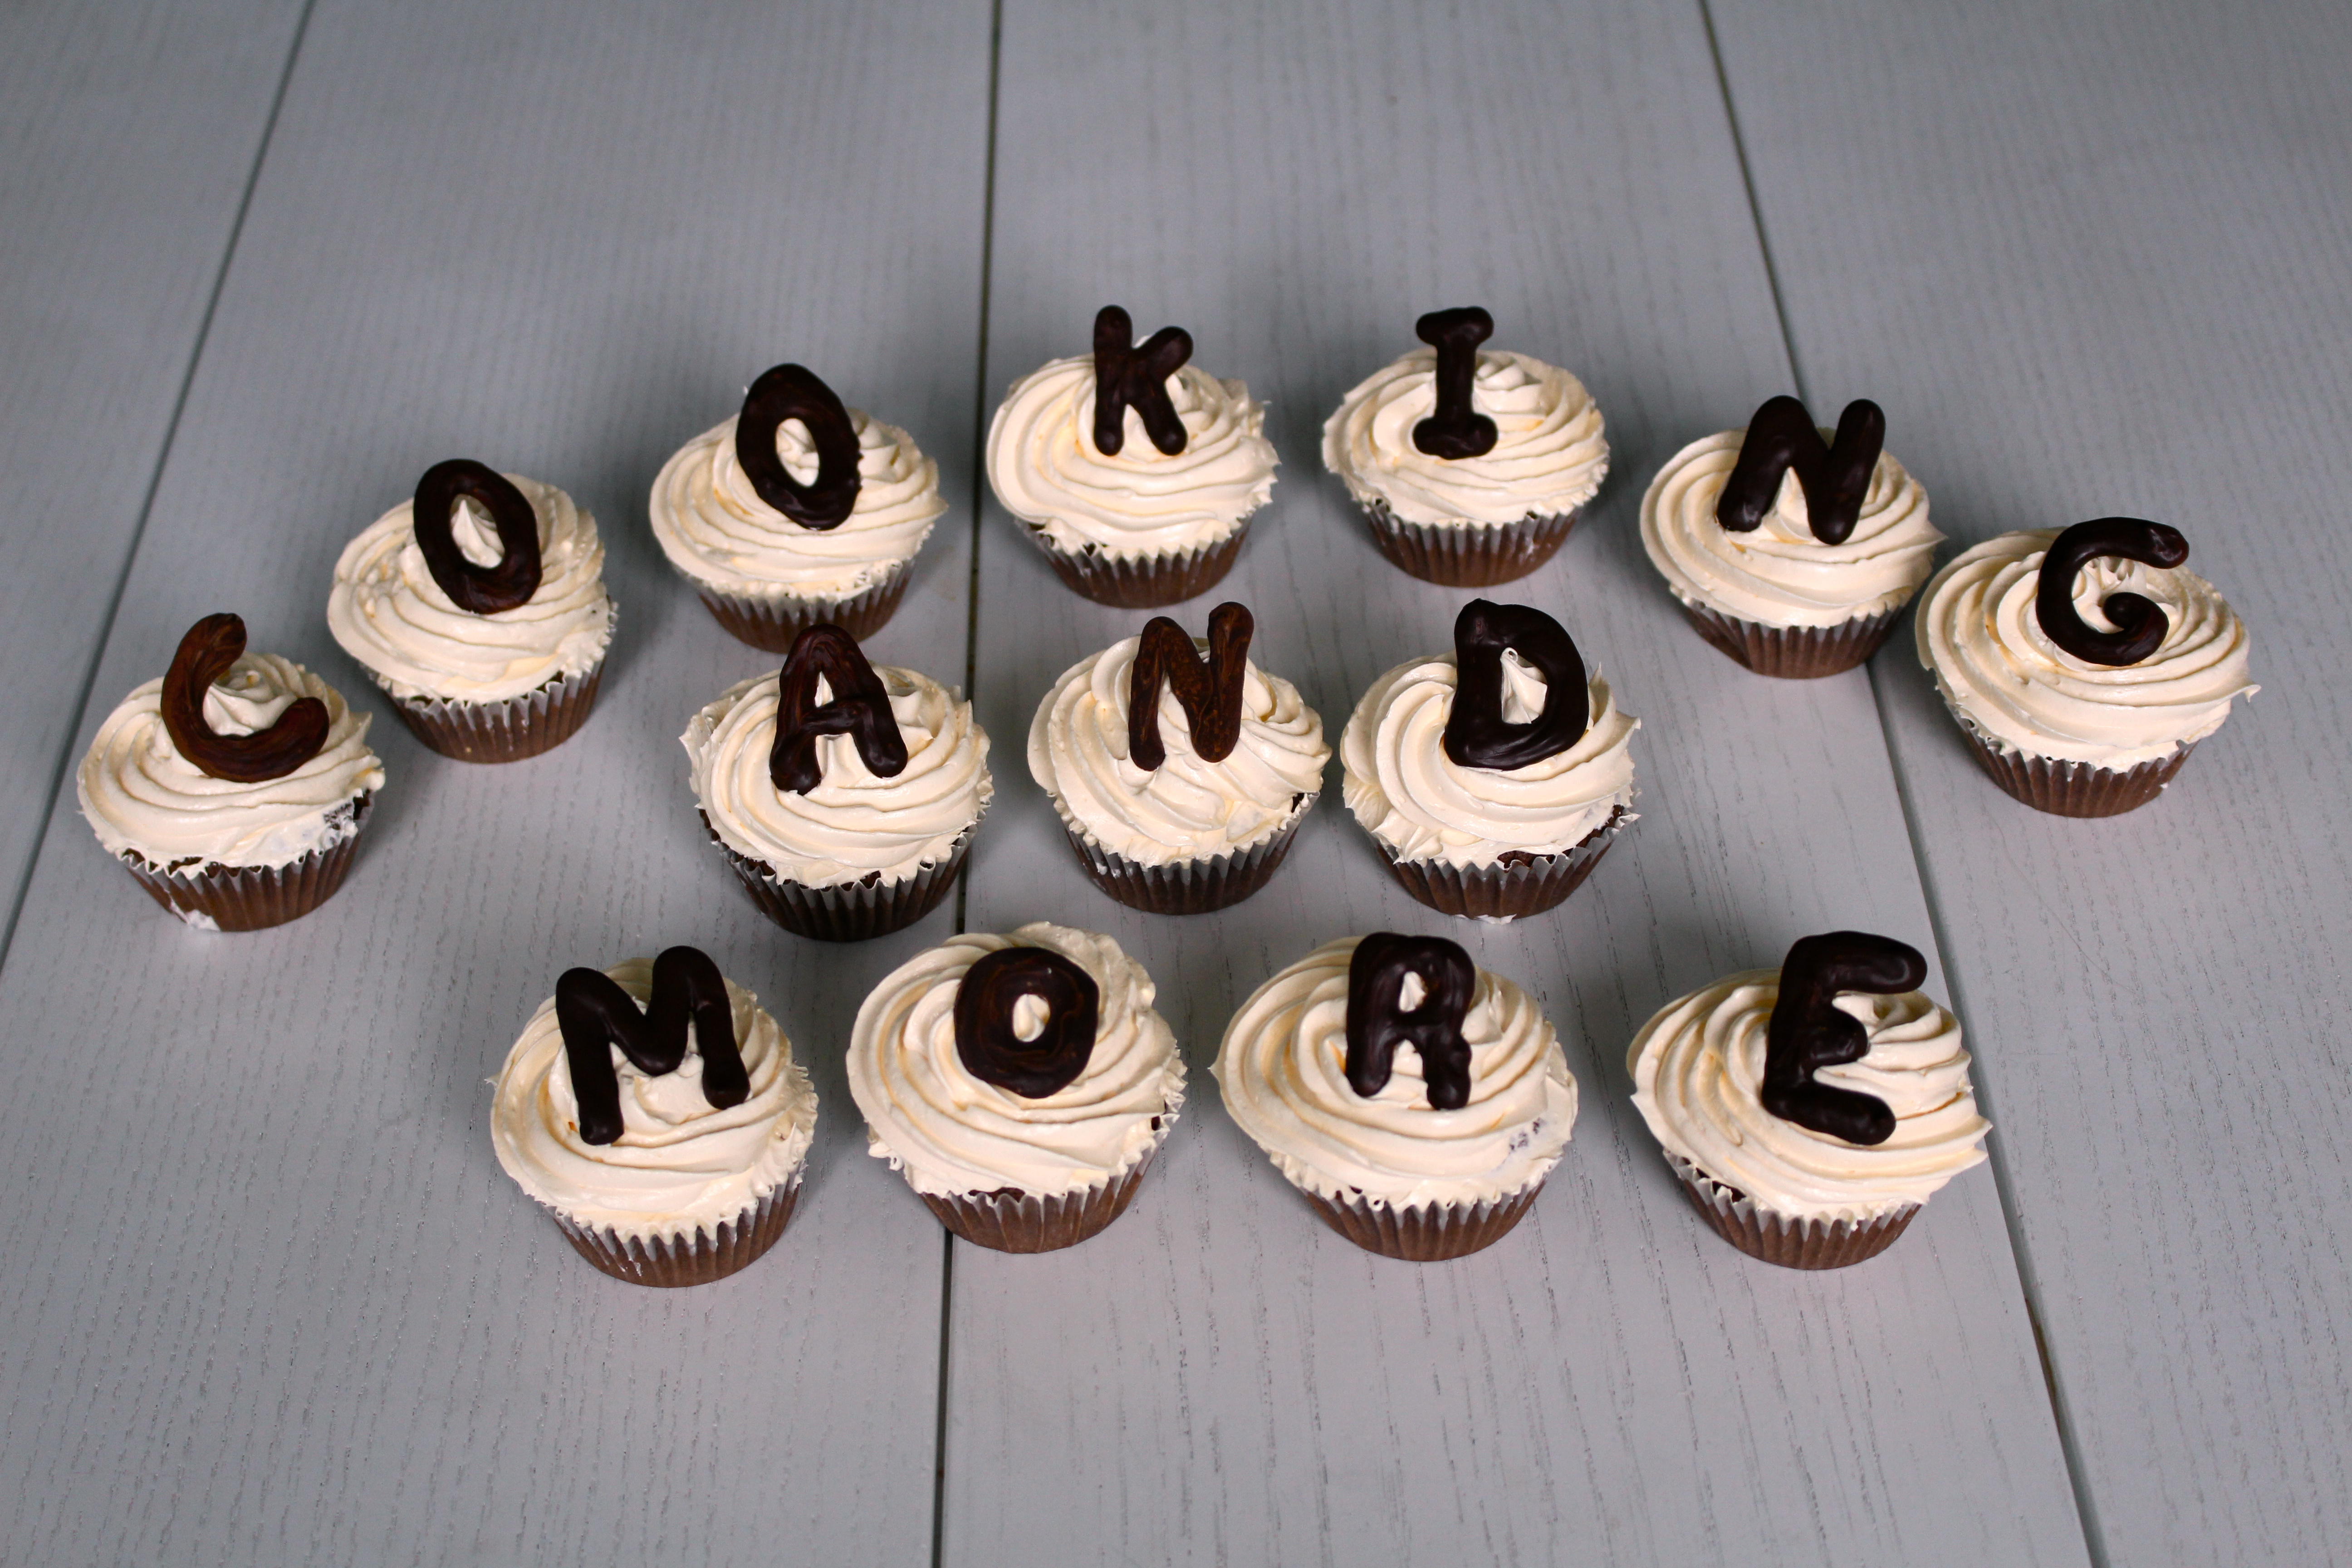
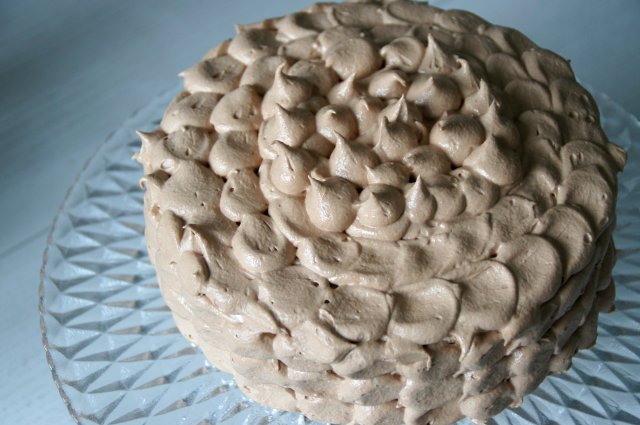
Hola! La semana pasada fue el cumpleaños de mi hermana y entre las dos escogimos esta tarta para la ocasión: tarta de Nocilla blanca y negra. Se intercalan 3 bizcochos de chocolate con buttercream de Nocilla blanca, y después cubrimos con buttercream de Nocilla normal. Estaba buenísima y además el contraste del bizcocho con las buttercreams queda super bonito.

Hey!! last week was my sister birthday and we chose to make this cake for her special day. It is a white and black Nocilla cake. Nocilla is an Spanish version of Nutella, so any chocolate-hazelnut cream will work for the recipe. It is a 3 layer chocolate cake with white Nocilla buttercream in the middle and then covered with black Nocilla buttercream. So good!

Para el bizcocho (3 moldes de 18 cm)

–       80ml de aceite de oliva suave

–       250gr de azúcar

–       150gr de harina

–       50g de cacao

–       2 cucharaditas de levadura

–       2 huevos

–       150ml de leche

–       1 cucharadita de extracto de vainilla

–       150ml de agua hirviendo

Precalentamos el horno a 180ºC y engrasamos los moldes. En un recipiente tamizamos la harina, la levadura y el cacao (es fundamental para que no nos queden grumos en la masa). Reservamos.

En otro bol batimos el aceite, azúcar y los huevos y cuando estén bien integrados incorporamos la harina, levadura y cacao.  Cuando la mezcla sea homogénea añadimos la leche y la vainilla; agregamos el agua hirviendo  y volvemos a batir. No os asustéis si la masa os queda muy liquida, es normal.

Repartimos la mezcla en los 3 moldes y horneamos durante 20-25 minutos o hasta que los bordes del bizcocho se separen del molde. Esperamos a que se enfríen y desmoldamos. Si no esperáis a que se enfríen tenéis posibilidades de que se os rompan al desmoldar porque al estar calientes son muy frágiles.

The recipe of the cake is from a book called ‘Objetivo: tarta perfecta’ (goal: perfect cake) by Alma Obregón.

 nocilla2

 For the cake (for 3 cake tins of 18cm each):

–       80ml of light olive oil

–       250gr of sugar

–       150gr of flour

–       50gr of cocoa powder

–       2 tsp. of baking powder

–       2 eggs

–       150ml of milk

–       1tsp of vanilla extract

–       150ml of boiling water


Preheat the oven at 180ºC and butter the cake tins. In a bowl, sift together the flour, baking powder and cocoa powder (this is important in order to avoid lumps in our batter). Set aside.

In another bowl mix the eggs, the oil and the sugar. Then add the flour, baking powder and cocoa powder.  Once combined pour in the milk and the vanilla and beat; incorporate the boiling water and mix again. Don’t panic if the mixture is very liquid, that’s how it’s supposed to be.

Share out the batter in the 3 cake tins and bake for 20-25 minutes or until the edges of the cake have came off the side of the tin. Wait for it to cool before removing from the tin. If you don’t wait your risk for you cake to break because when it stills hot it is very fragile.

nocilla1

Para las 2 buttercreams utilizaremos:

– 300 gr + 300 gr de azúcar glass

– 300 gr + 300 gr de mantequilla

– 190 gr (el bote pequeño) de Nocilla blanca

– 190 gr (el bote pequeño) de Nocilla normal

Batimos a máxima velocidad los primeros 300 gr de azúcar tamizado con 300gr de mantequilla. Pasados 5 minutos la mezcla se habrá aclarado y habrá aumentado su volumen.  Incorporamos la Nocilla blanca y batimos 2 minutos más. Reservamos.

Repetimos el proceso con el resto de azúcar y mantequilla y la Nocilla negra/normal. Cuando la tengamos la metemos en una manga pastelera con boquilla redonda grande (ver video un poco más abajo).

For the 2 buttercreams you will need:

– 300 gr + 300 gr of icing sugar

– 300 gr + 300 gr of butter

– 190 gr of white Nocilla 

– 190 gr of black Nocilla 

Beat the first 300 gr of butter and 300 gr of sugar for 5 minutes, after this time, the mixture will be lighter in color and increased in size. Mix in the white Nocilla and beat for 2 more minutes. Set aside.

Repeat the process with the rest of the butter and sugar an the black Nocilla and put it into a piping bag with a big round nozzle.

https://instagram.com/p/18kW3WOfSe/?taken-by=vicgorria

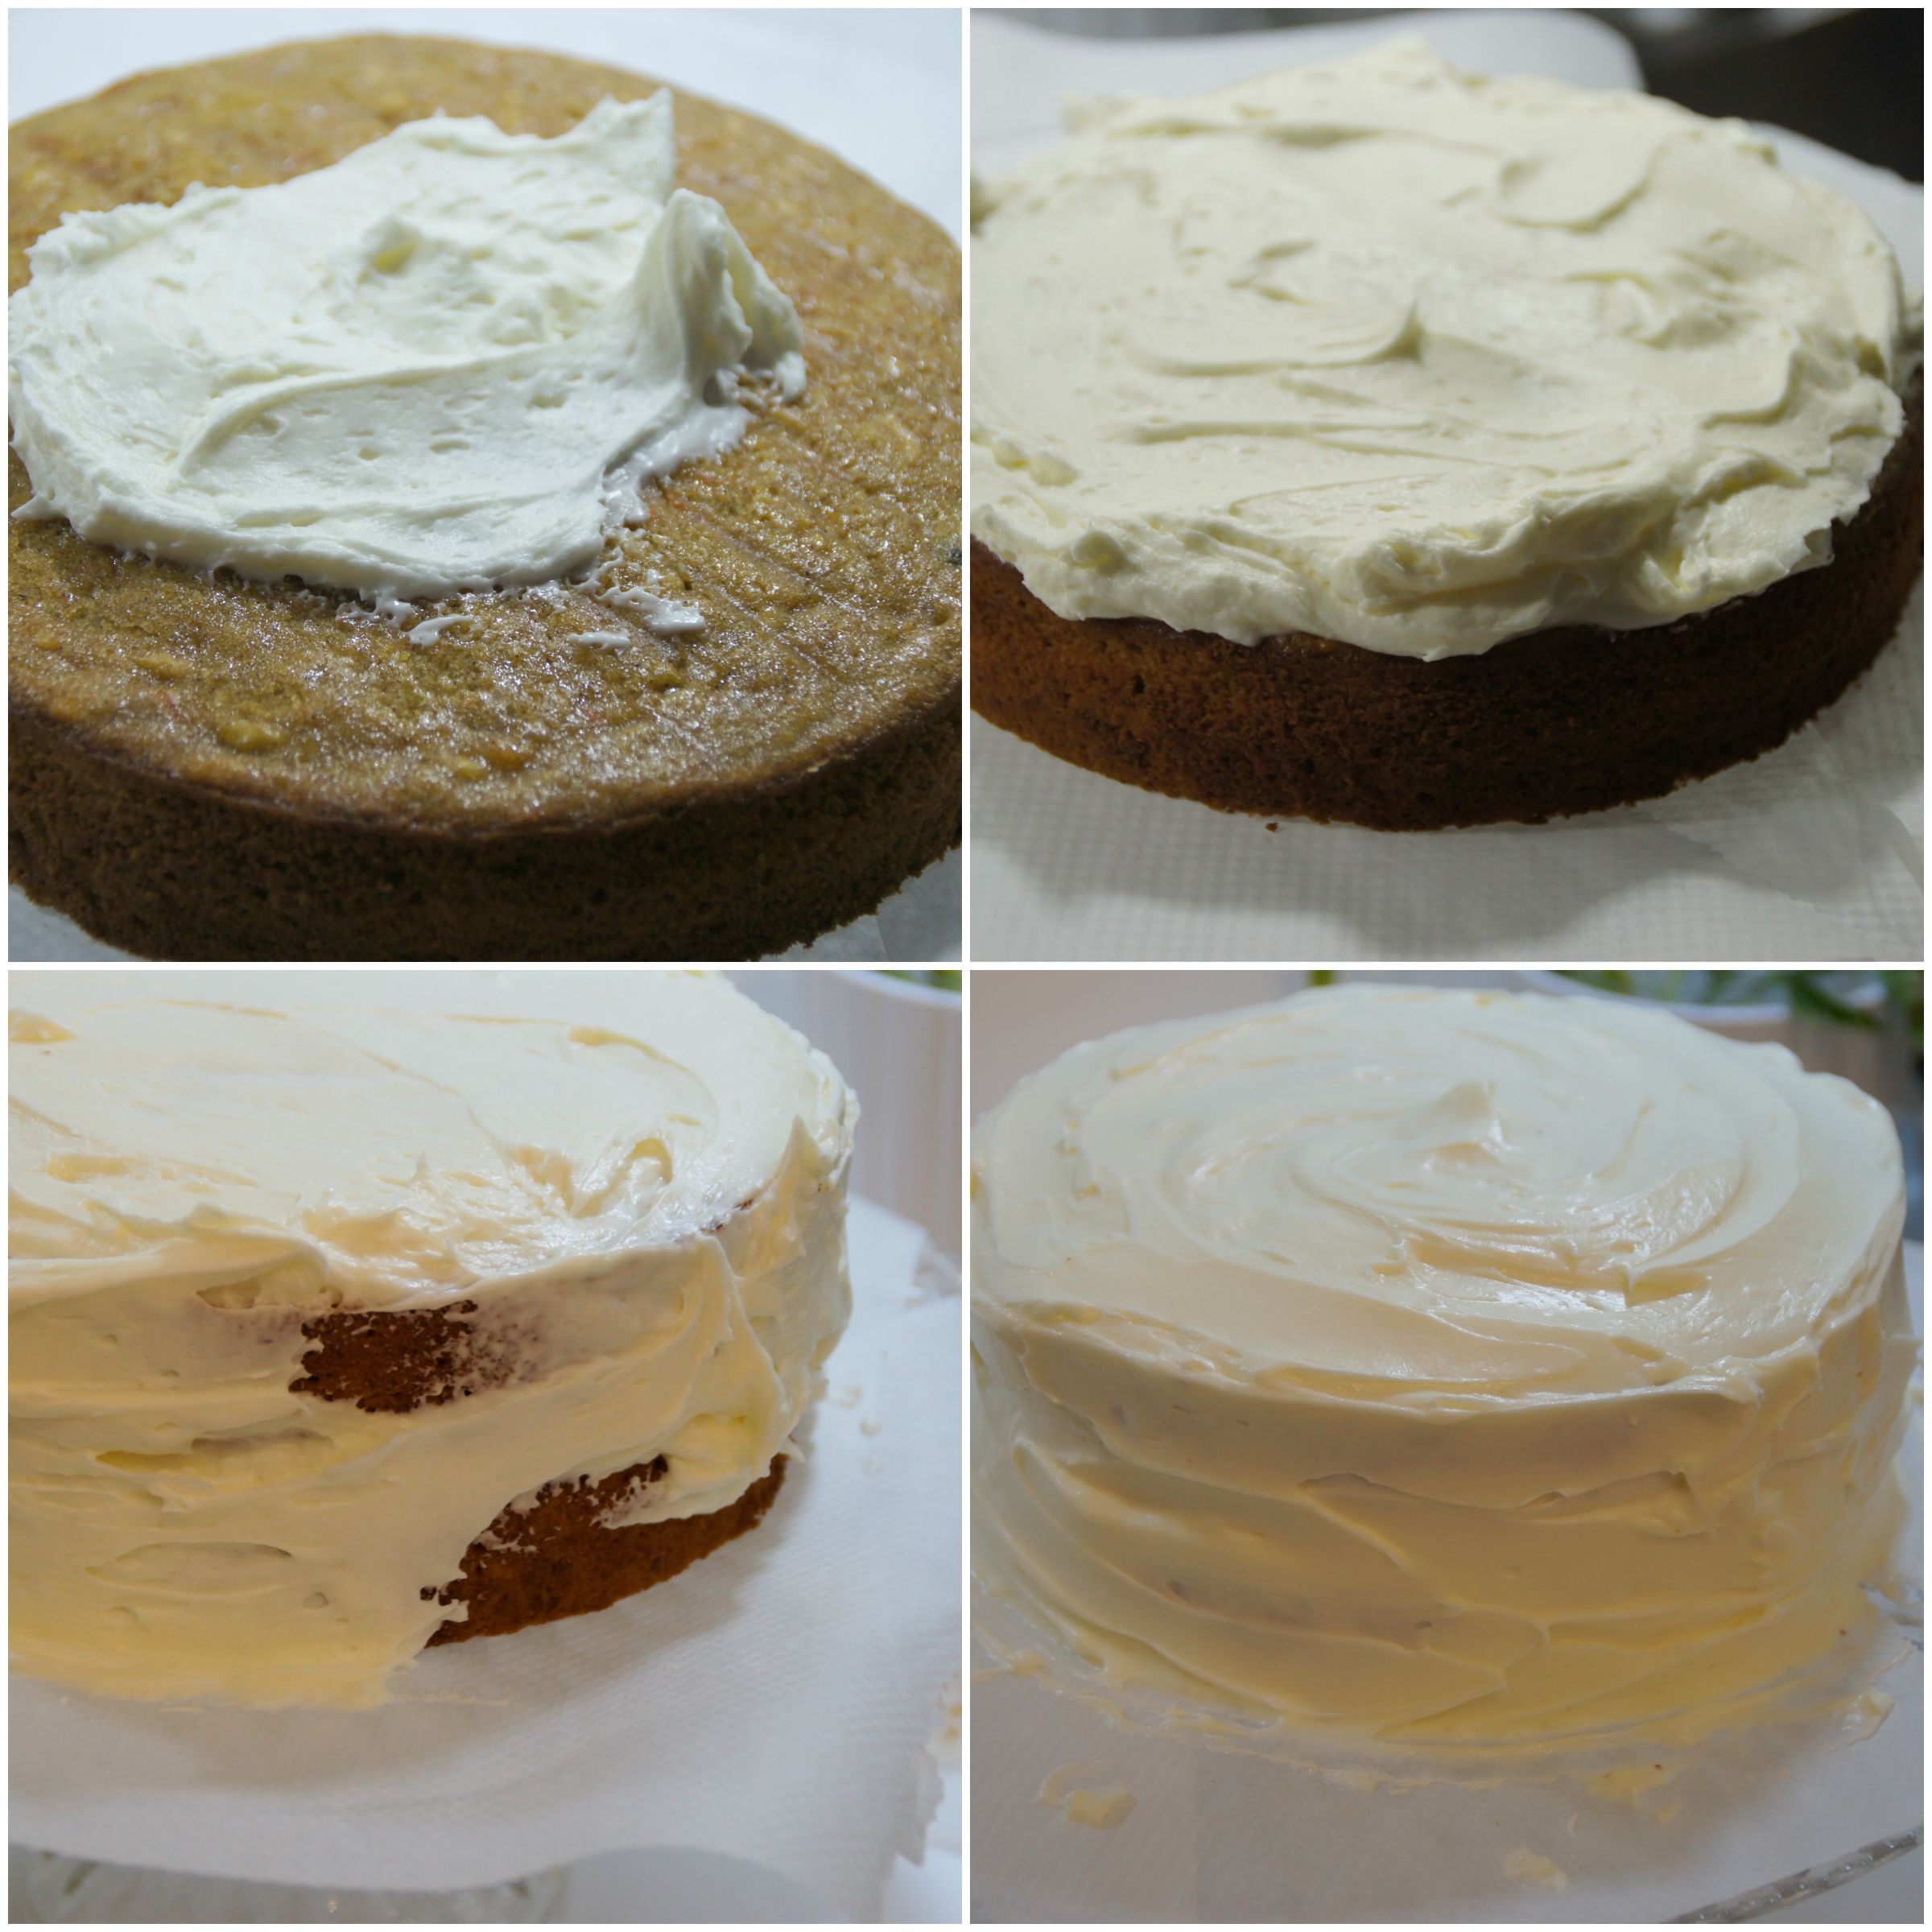
Ahora toca montar la tarta.  En el plato en el que vayamos a servirla alternamos una capa de bizcocho con una de buttercream de Nocilla blanca. Cubrimos también la parte superior y los lados de la tarta.

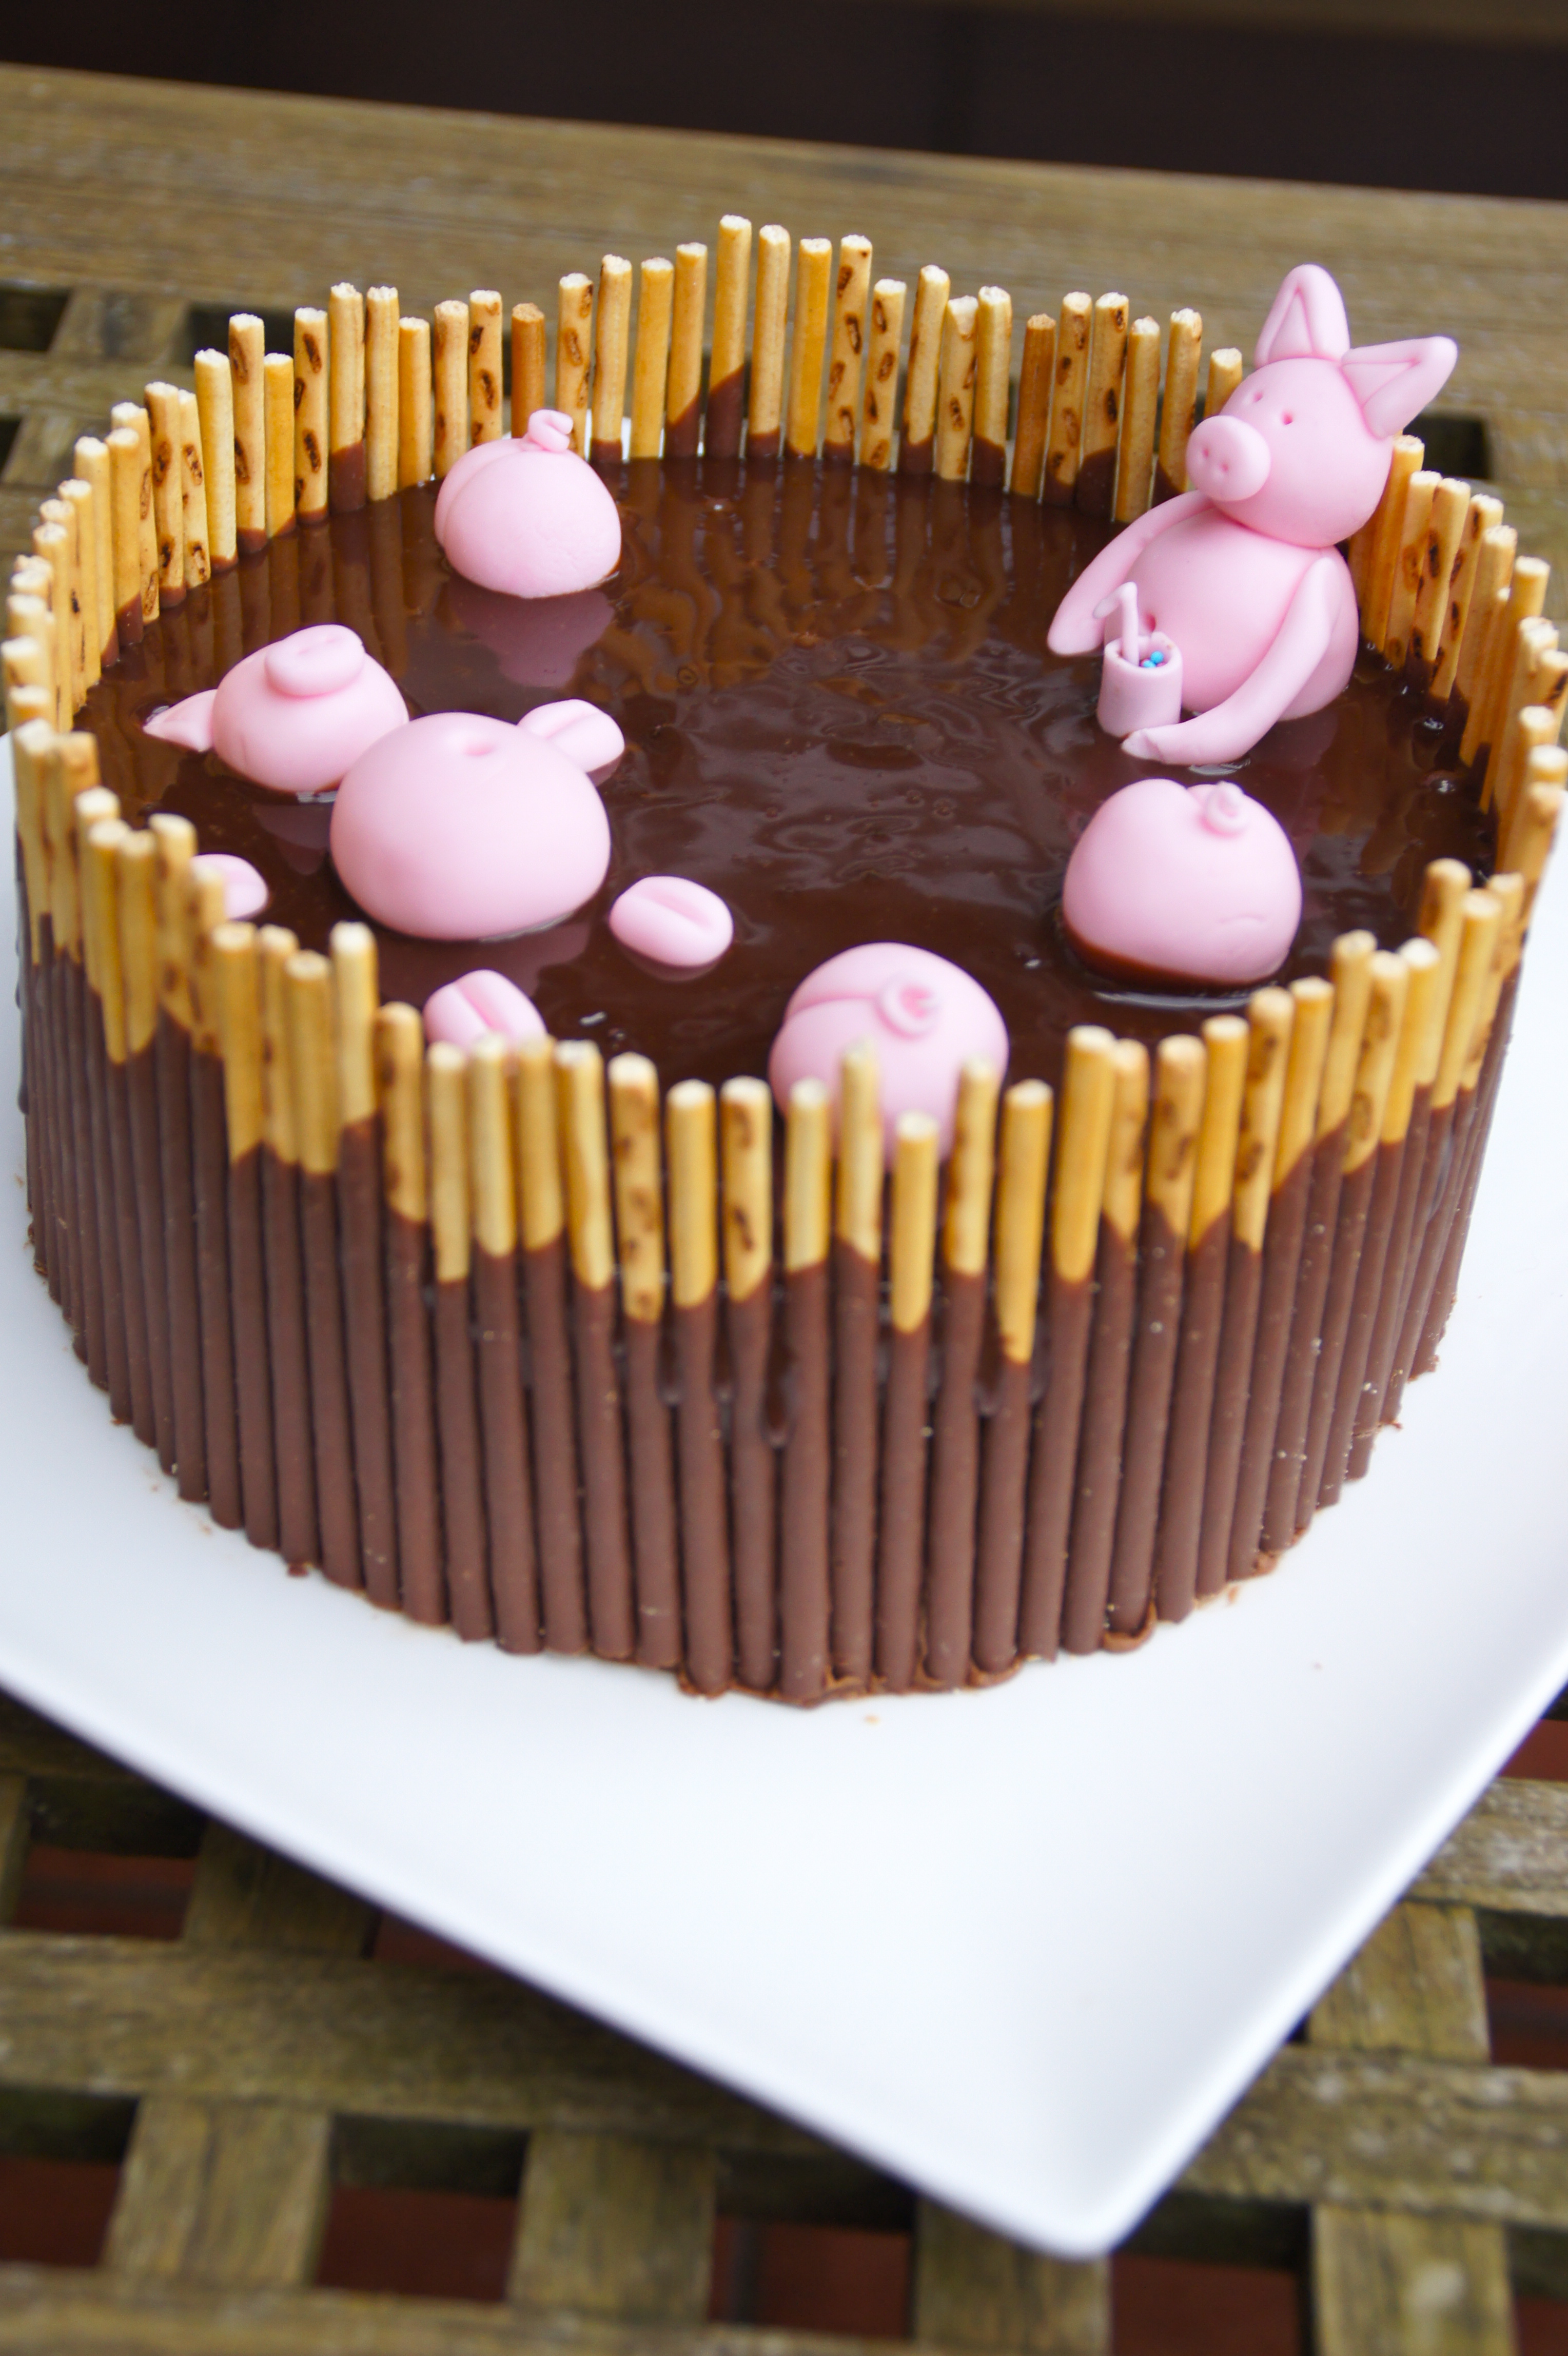
Con la buttercream negra en la manga pastelera decoramos. Hacemos puntos apretando suavemente y deslizamos hacia la derecha. repetimos hasta cubrir los lados y la parte superior de la tarta.

In a serving plate place one of you cakes and cover it with your white Nocilla buttercream, repeat with the next one and then place your third cake on top, then cover the top and sides of the cake.

Using the piping bag where our black buttercream is, decorate the rest of the cake by softly pressing the bag and making dots and then sliding the nozzle to the right.

Espero que os haya gustado! Gracias por leerme!

Victoria ♥

Enjoy! Thanks for stopping by!

Victoria ♥

Tarta de Zanahoria / Carrot Cake

carrotc5.jpg

Hola a todos! Hoy os traigo una entrada especial: mi tarta de cumpleaños! Me encanta la tarta de zanahoria y aprovechando que mi familia vino a cenar a casa decidí hacerla. Todo un éxito.

Hey guys! Today I share with you a special recipe for a special occasion: my birthday!
I really like carrot cake and haven’t had it in a while, so I thought I would bake it for my birthday dinner. And it was a blast!

La receta es del libro de Alma Obregón «Objetivo Tarta perfecta» y vais a necesitar:
-210 gr de harina
-3 huevos
-2 cucharaditas de levadura
-180 ml de aceite
-2 cucharaditas de canela
-225 gr de zanahorias ralladas
-210 gr de manzana rallada
-90 gr de pasas
-180 gr de azúcar
-Un buen puñado de nueces picadas + alguna para decorar
Para la crema de queso:
-125 gr de mantequilla a temperatura ambiente
-300 gr de azúcar glass
-125 gr de philadelphia (no light!)
-3 cucharadas de leche

The recipe comes from a book by Alma Obregón called «Objetivo Tarta Perfecta» and you will need:

– 210 gr of flour
– 3 eggs
– 2 tsp of baking powder
– 180 ml of oil
– 2 tsp of cinnamon
– 225 gr of grated carrots
– 210 gr of grated apple
– 90 gr of raisins
– 180 gr of sugar
– A good handful of nuts

For the cheese frosting:
-125 gr of butter at room temperature
-300 gr of icing sugar
-125 gr of cream cheese (can’t be light)
-2 tbs of milk

carrotc3.jpg
Empezamos precalentando el horno a 180 y engrasamos 2 moldes de 18 cm.
Tamizamos en un bol la harina, la levadura y la canela.
En otro bol, batimos los huevos, el azúcar y el aceite. Incorporamos la harina y ,una vez integrada, añadimos la zanahoria y la manzana rallada.
Por ultimo añadimos las pasas y las nueces.
Pesamos la mezcla y la repartimos en los moldes.

Start by preheating your oven at 180 and grease two 18 cm cake tins.
In a bowl sift the flour, cinnamon and baking powder together.
In another bowl beat the eggs, oil, and sugar. Add the flour and once mixed add the grated carrots and apples.
Lastly put in the raisins and pecans.
Weight the batter and divide between tins.

carrotc.jpg

Horneamos durante 25-30 minutos o hasta que al pincharlo, el palillo salga limpio.
Una vez fuera del horno los dejamos reposar 5 minutos y los traspasamos a una rejilla para que se enfríen.

Bake for 25-30 minutes or until a toothpick comes out clean.
Once out of the oven, let the cakes rest for 5 minutes and then let them cool on a rack.

Para la crema batimos la mantequilla, la leche y el azúcar glass a máxima velocidad hasta tener una crema blanca y suave (unos 5 minutos). Añadimos el queso (que tiene que estar frio!!) y batimos aumentando la velocidad poco a poco hasta que esté homogénea y cremosa.

For the frosting beat the butter, milk and icing sugar together for 5 minutes until white and fluffy. Then add the cream cheese (it needs to be cold!!) and beat in until fully incorporated. Your frosting needs to be light and creamy.

carrotc2.jpg

Montamos la tarta untando una capa de crema entre los dos bizcochos y cubriéndolo todo con la crema restante. Decoramos con unas nueces.

Put the cake together by spreading some cream cheese frosting in between the two cakes and them covering the whole thing with the remaining frosting. Decorate with some nuts.

Espero que os haya gustado!

Victoria ♥

Hope you liked it!

Victoria

carrotc4.jpg

Tarta de cerditos en el barro / Pigs in the mud cake

SONY DSC


Tengo una lista de tartas que quiero intentar hacer aunque sea una vez en la vida. Esta era una de ellas. Investigando recetas en páginas web y blogs me topé con la foto de una tarta de cerditos en el barro. Iba rodeada de kit-kats en vez de mikados y no se veía el interior, pero me encantó. Estaba en una página de ideas originales para cumpleaños de niños asi que aprovechando que mi primo Mikel cumplía 4 años, la hice.

No os voy a mentir, lleva su tiempo, pero merece la pena. Aunque solo sea para ver la cara del niño al que se la pongáis delante, cuando vea que su tarta tiene cerditos dándose un baño de chocolate.

Es una tarta con tres capas de bizcocho de chocolate, rellenas de una crema de chocolate y coronado con una ganache de chocolate con leche. Una bomba.


I have a list of cakes that I want to make at least once in my live. This was one of them. Checking out some cooking web pages and blogs, I found a picture of a cake with pigs in the mud. It had kit-kats instead of mikados and you couldn’t see the inside but I loved it. It was part of some original ideas for children’s birthday parties, so, since my little cousin Mikel was turning 4, I made it.

I’m not going to lie, this cake takes some time, but it’s worth it. Even if it’s only for seeing the look of a little boy when he realises his cake is topped with little pigs swimming in chocolate.

It is made of 3 layers of chocolate cake filled with chocolate buttercream and topped with milk chocolate ganache. You’ve got to love chocolate!

SONY DSC


La receta del bizcocho es del libro ‘Objetivo: tarta perfecta’ de Alma Obregón.


Para el bizcocho (3 moldes de 18 cm)

–       80ml de aceite de oliva suave

–       250gr de azúcar

–       150gr de harina

–       50g de cacao

–       2 cucharaditas de levadura

–       2 huevos

–       150ml de leche

–       1 cucharadita de extracto de vainilla

–       150ml de agua hirviendo


Precalentamos el horno a 180ºC y engrasamos los moldes. En un recipiente tamizamos la harina, la levadura y el cacao (es fundamental para que no nos queden grumos en la masa). Reservamos.

En otro bol batimos el aceite, azúcar y los huevos y cuando estén bien integrados incorporamos la harina, levadura y cacao.  Cuando la mezcla sea homogénea añadimos la leche y la vainilla; agregamos el agua hirviendo  y volvemos a batir. No os asustéis si la masa os queda muy liquida, es normal.

Repartimos la mezcla en los 3 moldes y horneamos durante 20-25 minutos o hasta que los bordes del bizcocho se separen del molde. Esperamos a que se enfríen y desmoldamos. Si no esperáis a que se enfríen tenéis posibilidades de que se os rompan al desmoldar porque al estar calientes son muy frágiles.


The recipe of the cake is from a book called ‘Objetivo: tarta perfecta’ (goal: perfect cake) by Alma Obregón.


 For the cake (for 3 cake tins of 18cm each):

–       80ml of light olive oil

–       250gr of sugar

–       150gr of flour

–       50gr of cocoa powder

–       2 tsp. of baking powder

–       2 eggs

–       150ml of milk

–       1tsp of vanilla extract

–       150ml of boiling water


Preheat the oven at 180ºC and butter the cake tins. In a bowl, sift together the flour, baking powder and cocoa powder (this is important in order to avoid lumps in our batter). Set aside.

In another bowl mix the eggs, the oil and the sugar. Then add the flour, baking powder and cocoa powder.  Once combined pour in the milk and the vanilla and beat; incorporate the boiling water and mix again. Don’t panic if the mixture is very liquid, that’s how it’s supposed to be.

Share out the batter in the 3 cake tins and bake for 20-25 minutes or until the edges of the cake have came off the side of the tin. Wait for it to cool before removing from the tin. If you don’t wait your risk for you cake to break because when it stills hot it is very fragile.

SONY DSC


Para la crema de chocolate:

–       150 gr de mantequilla a temperatura ambiente

–       150gr de azúcar glas

–       90 gr de chocolate negro


Fundimos el chocolate al baño maría y mientras que se templa batimos a máxima velocidad el azúcar tamizado con la mantequilla. Pasados 5 minutos la mezcla se habrá aclarado y habrá aumentado su volumen.  Sin dejar de batir, incorporamos el chocolate y batimos 2 minutos más.


For the chocolate buttercream

–       150gr of butter, room temperature

–       150gr of icing sugar

–       90gr of dark chocolate


Melt the chocolate over a double boiler, and let it cool. Meanwhile beat the butter and the sugar for 5 minutes, after this time, the mixture will be lighter in colour and increased in size. Without stopping the electric beater, mix in the chocolate and beat for 2 more minutes.


El ‘barro’ en el que están los cerditos es una ganache de chocolate con leche.

Necesitaremos:


-75ml de nata líquida

– 75 gr de chocolate con leche.


Para hacerla basta con calendar en un cazo de nata liquida y cuando rompa a hervir verterla sobre el chocolate . Esperar un minuto y remover con una cuchara. Fácil verdad?


The ‘mud’ in which the little pigs are, is a milk chocolate ganache.

You will need:

-75ml of cream

-75gr of milk chocolate


You just need to warm up the cream in a saucepan and when it starts to boil, pour it onto the chocolate. Wait for 1 minute and stir with a spoon. Isn’t it easy?

SONY DSC


Ahora toca montar y decorar la tarta.


Vamos a necesitar:

–       4 cajas de Mikados (yo he usado de chocolate con leche)

–       Fondant para hacer los cerditos


En el plato en el que vayamos a servir la tarta alternamos una capa de bizcocho con una de crema, pero sin poner crema en el último piso. Con lo que nos quede de crema cubrimos los lados. No hace falta que los dejemos perfectos ya que irán cubierto por nuestros mikados.

Colocamos los mikados alrededor de toda la tarta. Yo los he cortado porque me parecía que quedaban demasiado altos, pero podéis dejarlos largos si os gustan más.

SONY DSC


Now it’s time to assemble and decorate our cake.

We will need:

            -4 boxes of Mikado (I used the milk chocolate ones)

            -Fondant to make the little pigs


In a serving plate place one of you cakes and cover it with your buttercream, repeat with the next one and then place your third cake on top, but don’t cover this one with buttercream. Cover the sides of the cake with the rest of your buttercream. It doesn’t need to be perfect since it will be hidden with the mikados.

Place the mikados all around the cake, I cut them because I found them too tall for the cake, but you don’t need to if you don’t want.

SONY DSC


Muy despacio vertemos la ganache, que debe estar templada, sobre la tarta y con la ayuda de una cucharita repartimos bien para que no quede ningún espacio descubierto. Metemos a la nevera durante 15 minutos para que se asiente.


Slowly pour the ganache, cooled down, on top of the cake and with a spoon cover any uncovered space. Put in the fridge fro 15 minutes for it to settle.


Ahora toca moldear los cerditos con el fondant.

Now it’s time to make the little pigs with the fondant.

Estas son las patitas y la tripa del cerdito tumbado.

Estas son las patitas y la tripa del cerdito tumbado/ This are the hoofs and the belly of the pig that is laying down.


cerdito2

Así se hacen las cabezas/ Steps to make the heads.


cerditos3

Estos son los pasos para los traseros de los cerditos/ This are the steps for the bottoms of the pigs.

cerdito4

El cerdito sentado/ The sitting pig


Espero que os haya gustado! / Hope you enjoyed!

Victoria ♥cerdito5

Cupcakes de Nutella y crema de avellana/ Nutella Cupcakes with hazelnut buttercream


IMG_1316

IMG_1305


Hola de nuevo!

Una de las cosas que más me gusta cocinar son cupcakes y por eso he pensado que sería una buena idea empezar con esta receta. Este año lo he pasado de Erasmus en Inglaterra y en mi cocina de allí no tenía batidora de varillas así que tuve que ingeniármelas para conseguir una receta de masa de cupcakes que se pudiese hacer con una batidora manual de las de toda la vida. En cambio, la crema que os propongo, si que necesita batidora eléctrica y aunque lleva un poquito más de trabajo, veréis que merece la pena!

La primera parte de la receta es muy sencilla, para 12 cupcakes necesitas:

–       un bote de Nutella

–       3 huevos

–       120g de harina

Primero ponemos a precalentar el horno a 180ºC. En un bol, batimos los huevos, con la batidora de mano es suficiente. Una vez batidos añadimos la Nutella y mezclamos bien hasta que se integren. Al principio costará un poco pero rápidamente obtendréis una mezcla brillante y homogénea.

A continuación añadimos la harina y la integramos con la ayuda de una espátula.

Ya tenemos nuestra masa lista, ahora falta ponerla en nuestras cápsulas de papel, sin nunca llenar más de 2/3 de la cápsula, y hornearlas durante 13-15 minutos a 180ºC. Podéis comprobar que estén listas, clavando un palillo en el centro del cupcake y mirando si al sacarlo está limpio.

Dejarlas enfriar sobre una rejilla, ya que no podemos decorarlas hasta que estén completamente frías.

IMG_1307


La receta de la crema de avellanas es del blog de Objetivo Cupcake Perfecto y sale buenísima! Utilizaremos:


–       5 yemas de huevo

–       70 ml de agua

–       220 de azúcar

–       350g de mantequilla a temperatura ambiente (fundamental!)

–       2 cucharadas de pasta de avellana italiana


Tras separar la claras y las yemas, colocamos las yemas en el bol de la batidora de varillas y batimos a velocidad media-alta.  Mientras tanto ponemos el agua y el azúcar en un cazo y lo calentamos hasta que llegue a los 118-120º en nuestro termómetro. Cuando ya ha alcanzado esa temperatura, lo vertimos muy poco a poco sobre las yemas, sin dejar de batir.

Seguimos batiendo durante 10 minutos más o menos, hasta que la mezcla esté totalmente a temperatura ambiente. Esto es MUY importante porque si sigue caliente, se nos derretirá la mantequilla y echaremos a perder nuestra crema.

Cuando esté a temperatura ambiente, añadimos poco a poco la mantequilla (que también está a temperatura ambiente) y batimos durante 5 minutos más hasta que  la crema coja consistencia. Por último incorporamos la pasta de avellana.


IMG_1309


Traspasamos la crema a una manga pastelera y decoramos. Yo he utilizado una boquilla de estrella pero podéis utilizar la que queráis.

Para rematar, unos sprinkles o unas letras de chocolate.

Para las letras, derretir una tableta del chocolate que más os guste al baño maría. Esperar que temple un poquito y meterlo en una manga pastelera con una boquilla redonda muy fina. Sobre papel de horno dibujar las letras o figuras que prefiráis y dejarlas que se endurezcan en la nevera. Solo quedará despegarlas con cuidado, colocarlas sobre los cupcakes y listo!

Gracias por leerme!

Victoria


IMG_1319

Hello again!

One of the things that I love cooking is cupcakes and that’s why I’ve decided to start with this recipe. I’ve spent my last year in the UK, and I didn’t even have an electric beater in my kitchen so I had to find a recipe that I could whisk with a fork. It’s a very handy and simple recipe that I’m sure you will like. On the other hand, for preparing the buttercream we will need the electric beater and even though it is a little bit harder, it would be worth the effort, you’ll see!


The first part of the recipe is very easy, for 12 cupcakes you will need:

–       3 eggs

–       1 Nutella jar

–       120g of flour

First we pre-heat our oven at 180ºC (350F). In a large bowl we whisk the eggs and then add the Nutella. At first it would be hard to combine them but don’t panic and keep whisking until you have a shiny and smooth batter. Add the flour and gently stir with a spatula. Once your batter is ready, scoop it into your cupcake tins, never filling up more than 2/3rds and bake them for 13-15 minutes at 180ºC. You can check if they are baked by inserting a toothpick and looking if it’s clean.

Leave them to cool on a wire rack; we can’t put any buttercream on them until they are completely cooled down to room temperature.

IMG_1308


The hazelnut buttercream recipe is from a Spanish blog called ‘Objetivo Cupcake Perfecto’ and it’s delicious! We will need:

–       5 egg yolks

–       70ml of water

–       220g of sugar

–       350g of butter (room temperature)

–       2 tablespoons of hazelnut paste

In a large bowl beat the egg yolks at medium-high speed. Meanwhile, heat up the sugar and the water in a saucepan until it reaches 118-120ºC in our thermometer. Once the right temperature is reached, slowly pour it onto the yolks and keep mixing.

Continue for about 10 minutes, until the mix is at room temperature. This is VERY important because if it still hot and we add our butter, it will melt and the buttercream will be ruined.

Once it has cooled down, add the butter and keep mixing for 5 more minutes and then put in the hazelnut paste for a great flavour!

Place your buttercream into a piping bag and decorate your cupcakes. I used a star nozzle but you can use whichever you want. To finish up you cupcakes, add some sprinkles or chocolate letters.

For the letters, melt one bar of you favourite chocolate using a double boiler. Wait for it to cool a l

ittle bit and put it in a piping bag with a small round nozzle. Draw your letter or figures on a sheet of baking paper and leave them to harden in the fridge. Then you only need to carefully take them of the paper and place them on top of your cupcake!


Thanks for reading me!

Victoria