Cupcakes de Terciopelo Rojo / Red Velvet Cupcakes

redvelvet1.jpg

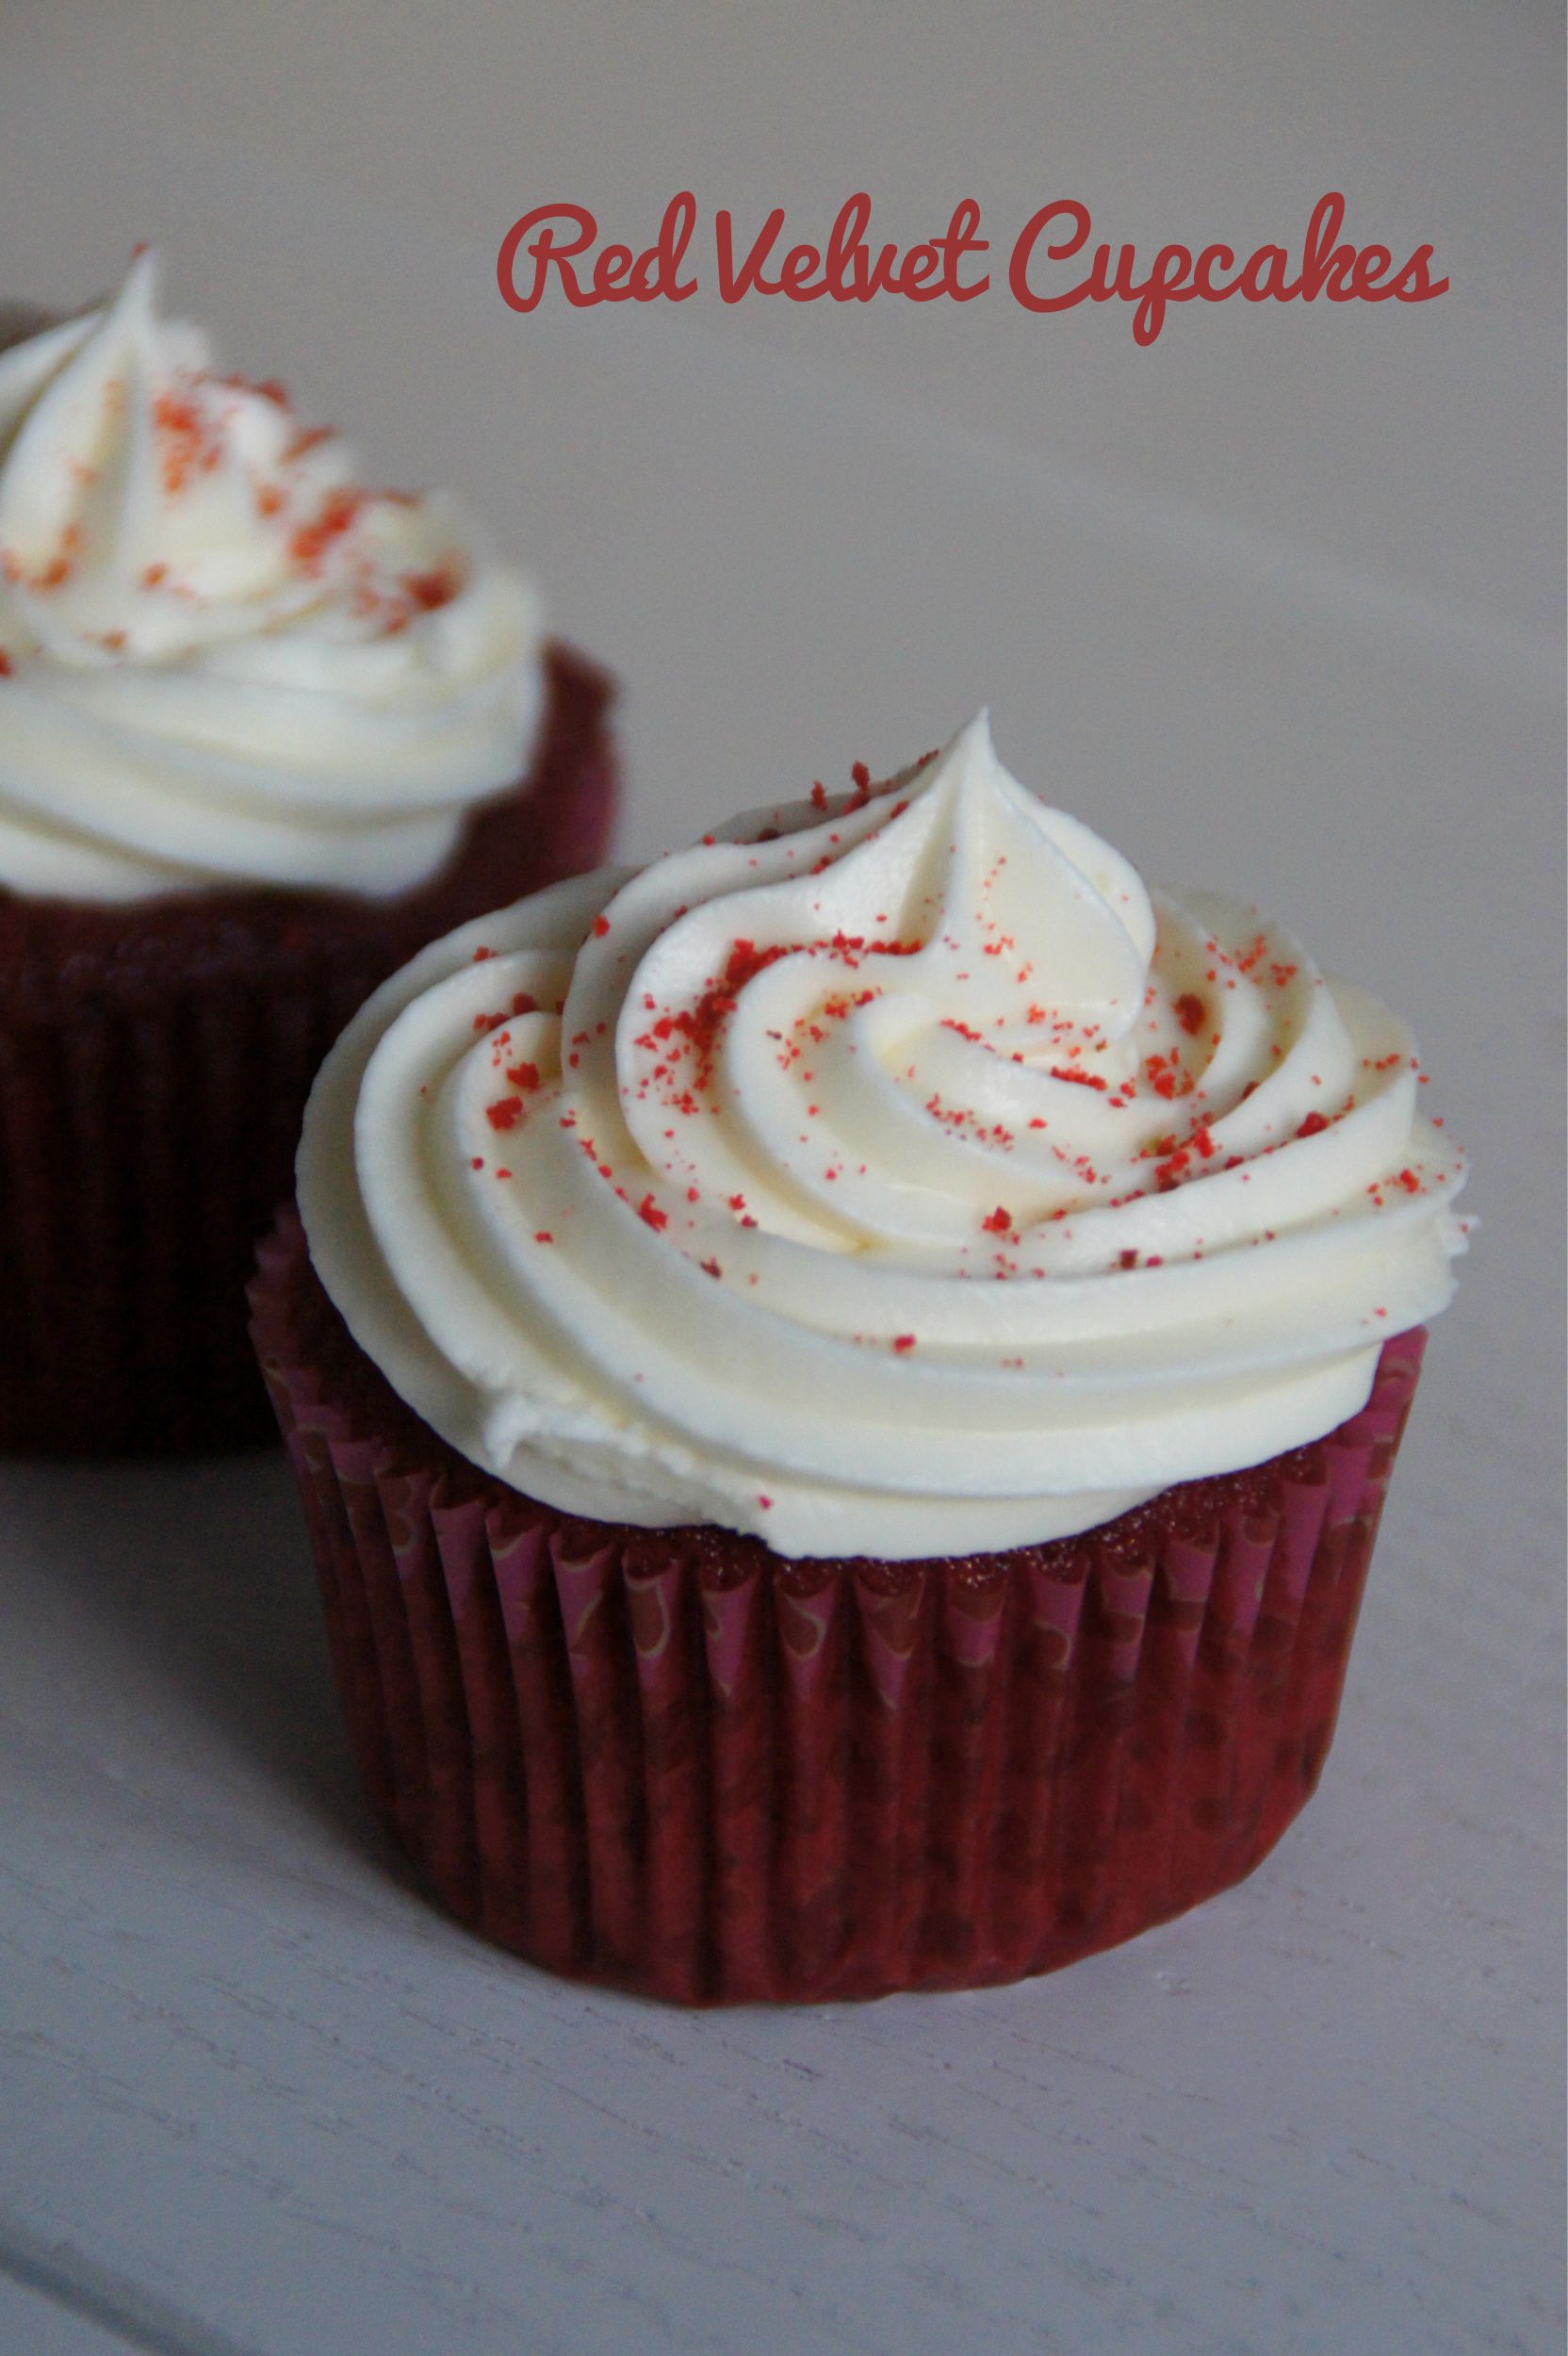
Feliz San Valentín!! Hoy os traigo una típica receta de este día: Cupcakes de terciopelo rojo!

Happy Valentine’s Day everyone! Today I have a super loving recipe for you: red velvet Cupcakes!

La receta es del libro de Alma Obregón ‘Objetivo cupcake perfecto.

Vais a necesitar:

  • 60 ml de aceite de oliva suave
  • 160 g de azúcar
  • 1 huevo
  • 1 cucharada de cacao sin azúcar
  • 1 cucharadita de colorante en pasta rojo
  • 1 y ½ cucharaditas de extracto de vainilla
  • 125 ml de leche semidesnatada
  • 1 cucharadita de zumo de limón
  • 150 gr de harina
  • ½ cucharadita de bicarbonato de soda
  • 1 cucharadita de vinagre blanco

Para la crema:

  • 120 gr mantequilla
  • 300 gr de azúcar glass
  • 125 gr queso crema (no puede ser light!)
  • 1 cucharada de leche semidesnatada

The recipe is from the book ‘Objetivo Cupcake Perfecto’ by Alma Obregón.

You will need:


  • 60 ml of light olive oil
  • 160 g of sugar
  • 1 egg
  • 1 tbsp unsweetened cocoa powder
  • 1 tsp red gel food colouring
  • 1 y ½ tsp vanilla extract
  • 125 ml semi-skimmed milk
  • 1 tsp lemon juice
  • 150 gr flour
  • ½ tsp baking soda
  • 1 tsp White vinegar


For the cream cheese frosting:

  • 120 gr butter
  • 300 gr of icing sugar
  • 125 gr of cream cheese (can’t be light!)
  • 1 tbsp of semi-skimmed milk

redvelvet2.jpg

No os asustéis por los ingredientes tan raros que llevan estas cupcakes! Empezaremos precalentando el horno a 180 ºC. Ponemos la leche en un vaso y añadimos el zumo de limón, dejamos reposar 5- 10 minutos.

Don’t be scared of the weird ingredients!

As always start by preheating the oven at 180 ºC. Then in a glass pour the milk and the lemon juice, let it rest for 5-10 minutes.

En un bol batimos el azúcar y el aceite. Después incorporamos los huevos y el extracto de vainilla.

En otro bol tamizamos el cacao y la harina. Y batiendo a baja velocidad lo incorporamos a la mezcla anterior alternando con la leche.

In a bowl beat the sugar and the oil. Then add the eggs and the vanilla extract.

In another bowl sift the cocoa powder and the flour. Then add it to the previous mixture alternating with the milk.

redvelvet4.jpg

En un vasito mezclamos el vinagre con el bicarbonato y cuando empiece a burbujear se lo añadimos a la mezcla anterior. Por ultimo echamos el colorante rojo y ajustamos el color como mas nos guste.

Repartimos la mezcla en las capsulas y horneamos 20 minutos.


In a little ramekin mix the vinegar and baking soda and once it starts to bubble add it to the prior mixture.

Distribute the mixture in the cupcakes liners and bake for 20 minutes.

redvelvet3.jpg

Para la crema batimos la mantequilla, la leche y el azúcar glass a máxima velocidad hasta tener una crema blanca y suave (unos 5 minutos). Añadimos el queso (que tiene que estar frio!!) y batimos aumentando la velocidad poco a poco hasta que esté homogénea y cremosa.

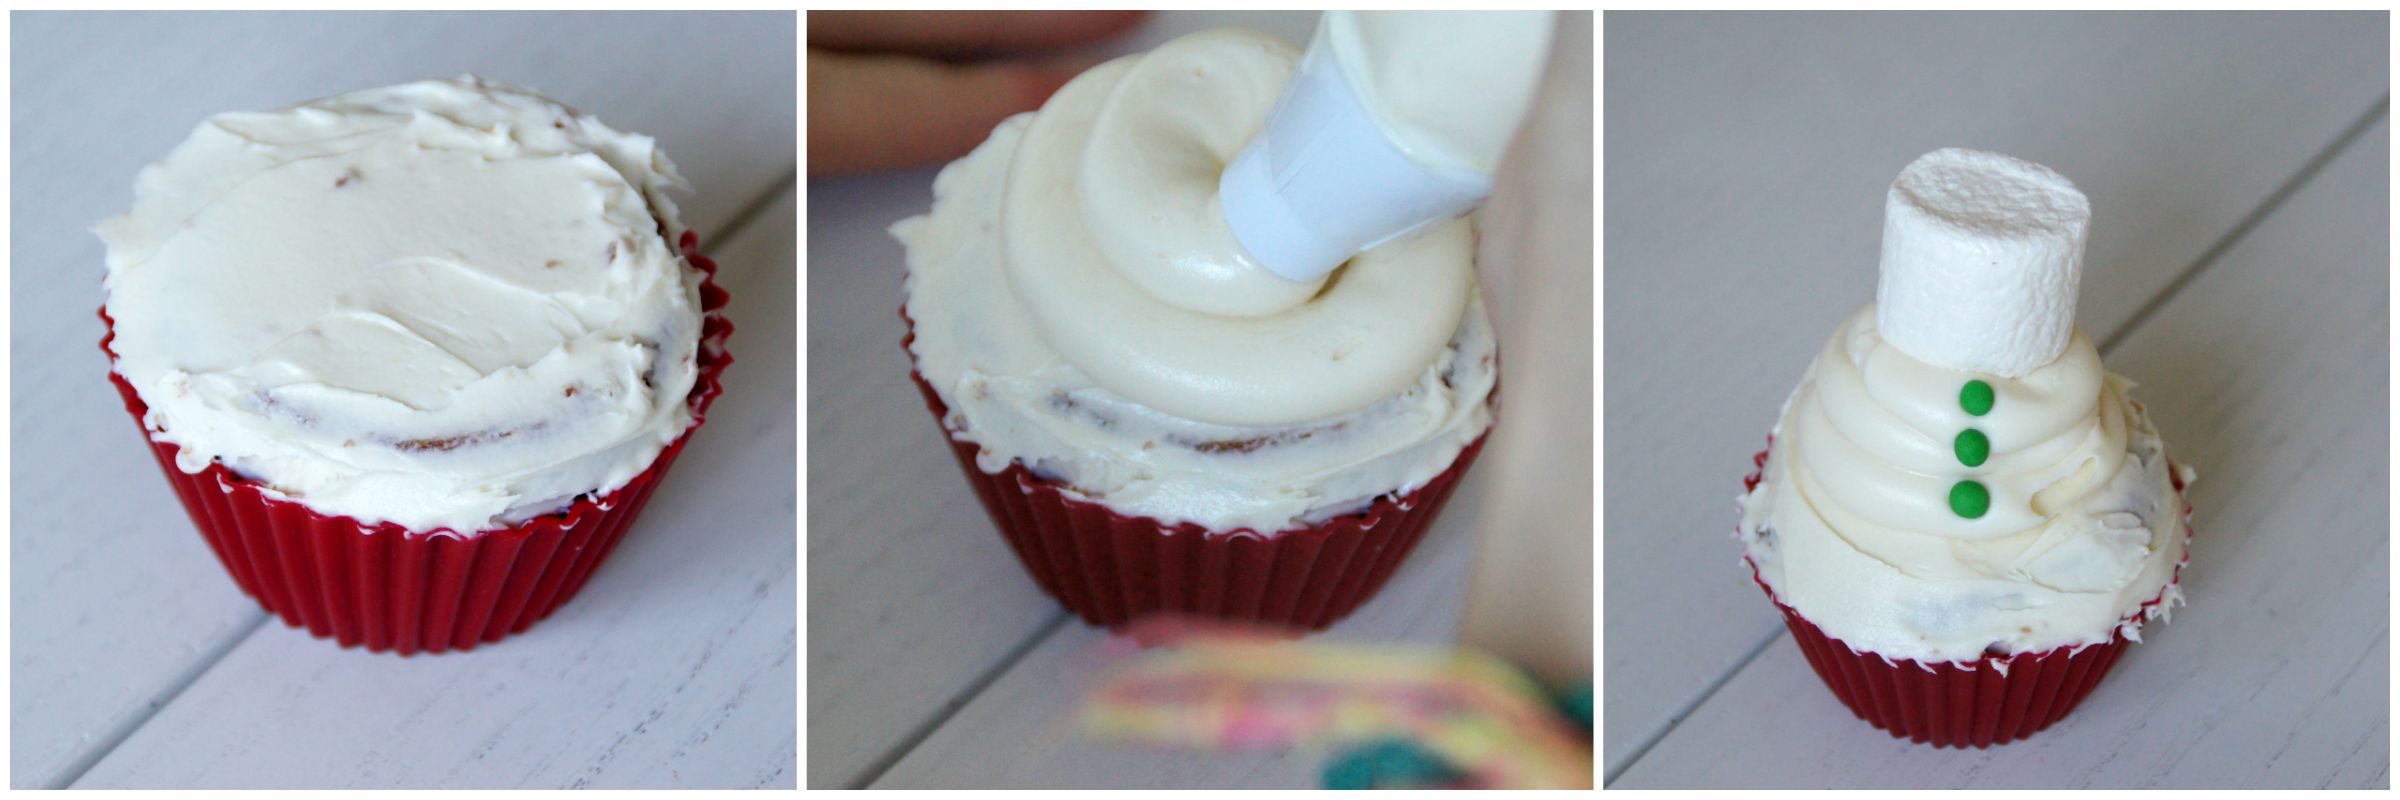
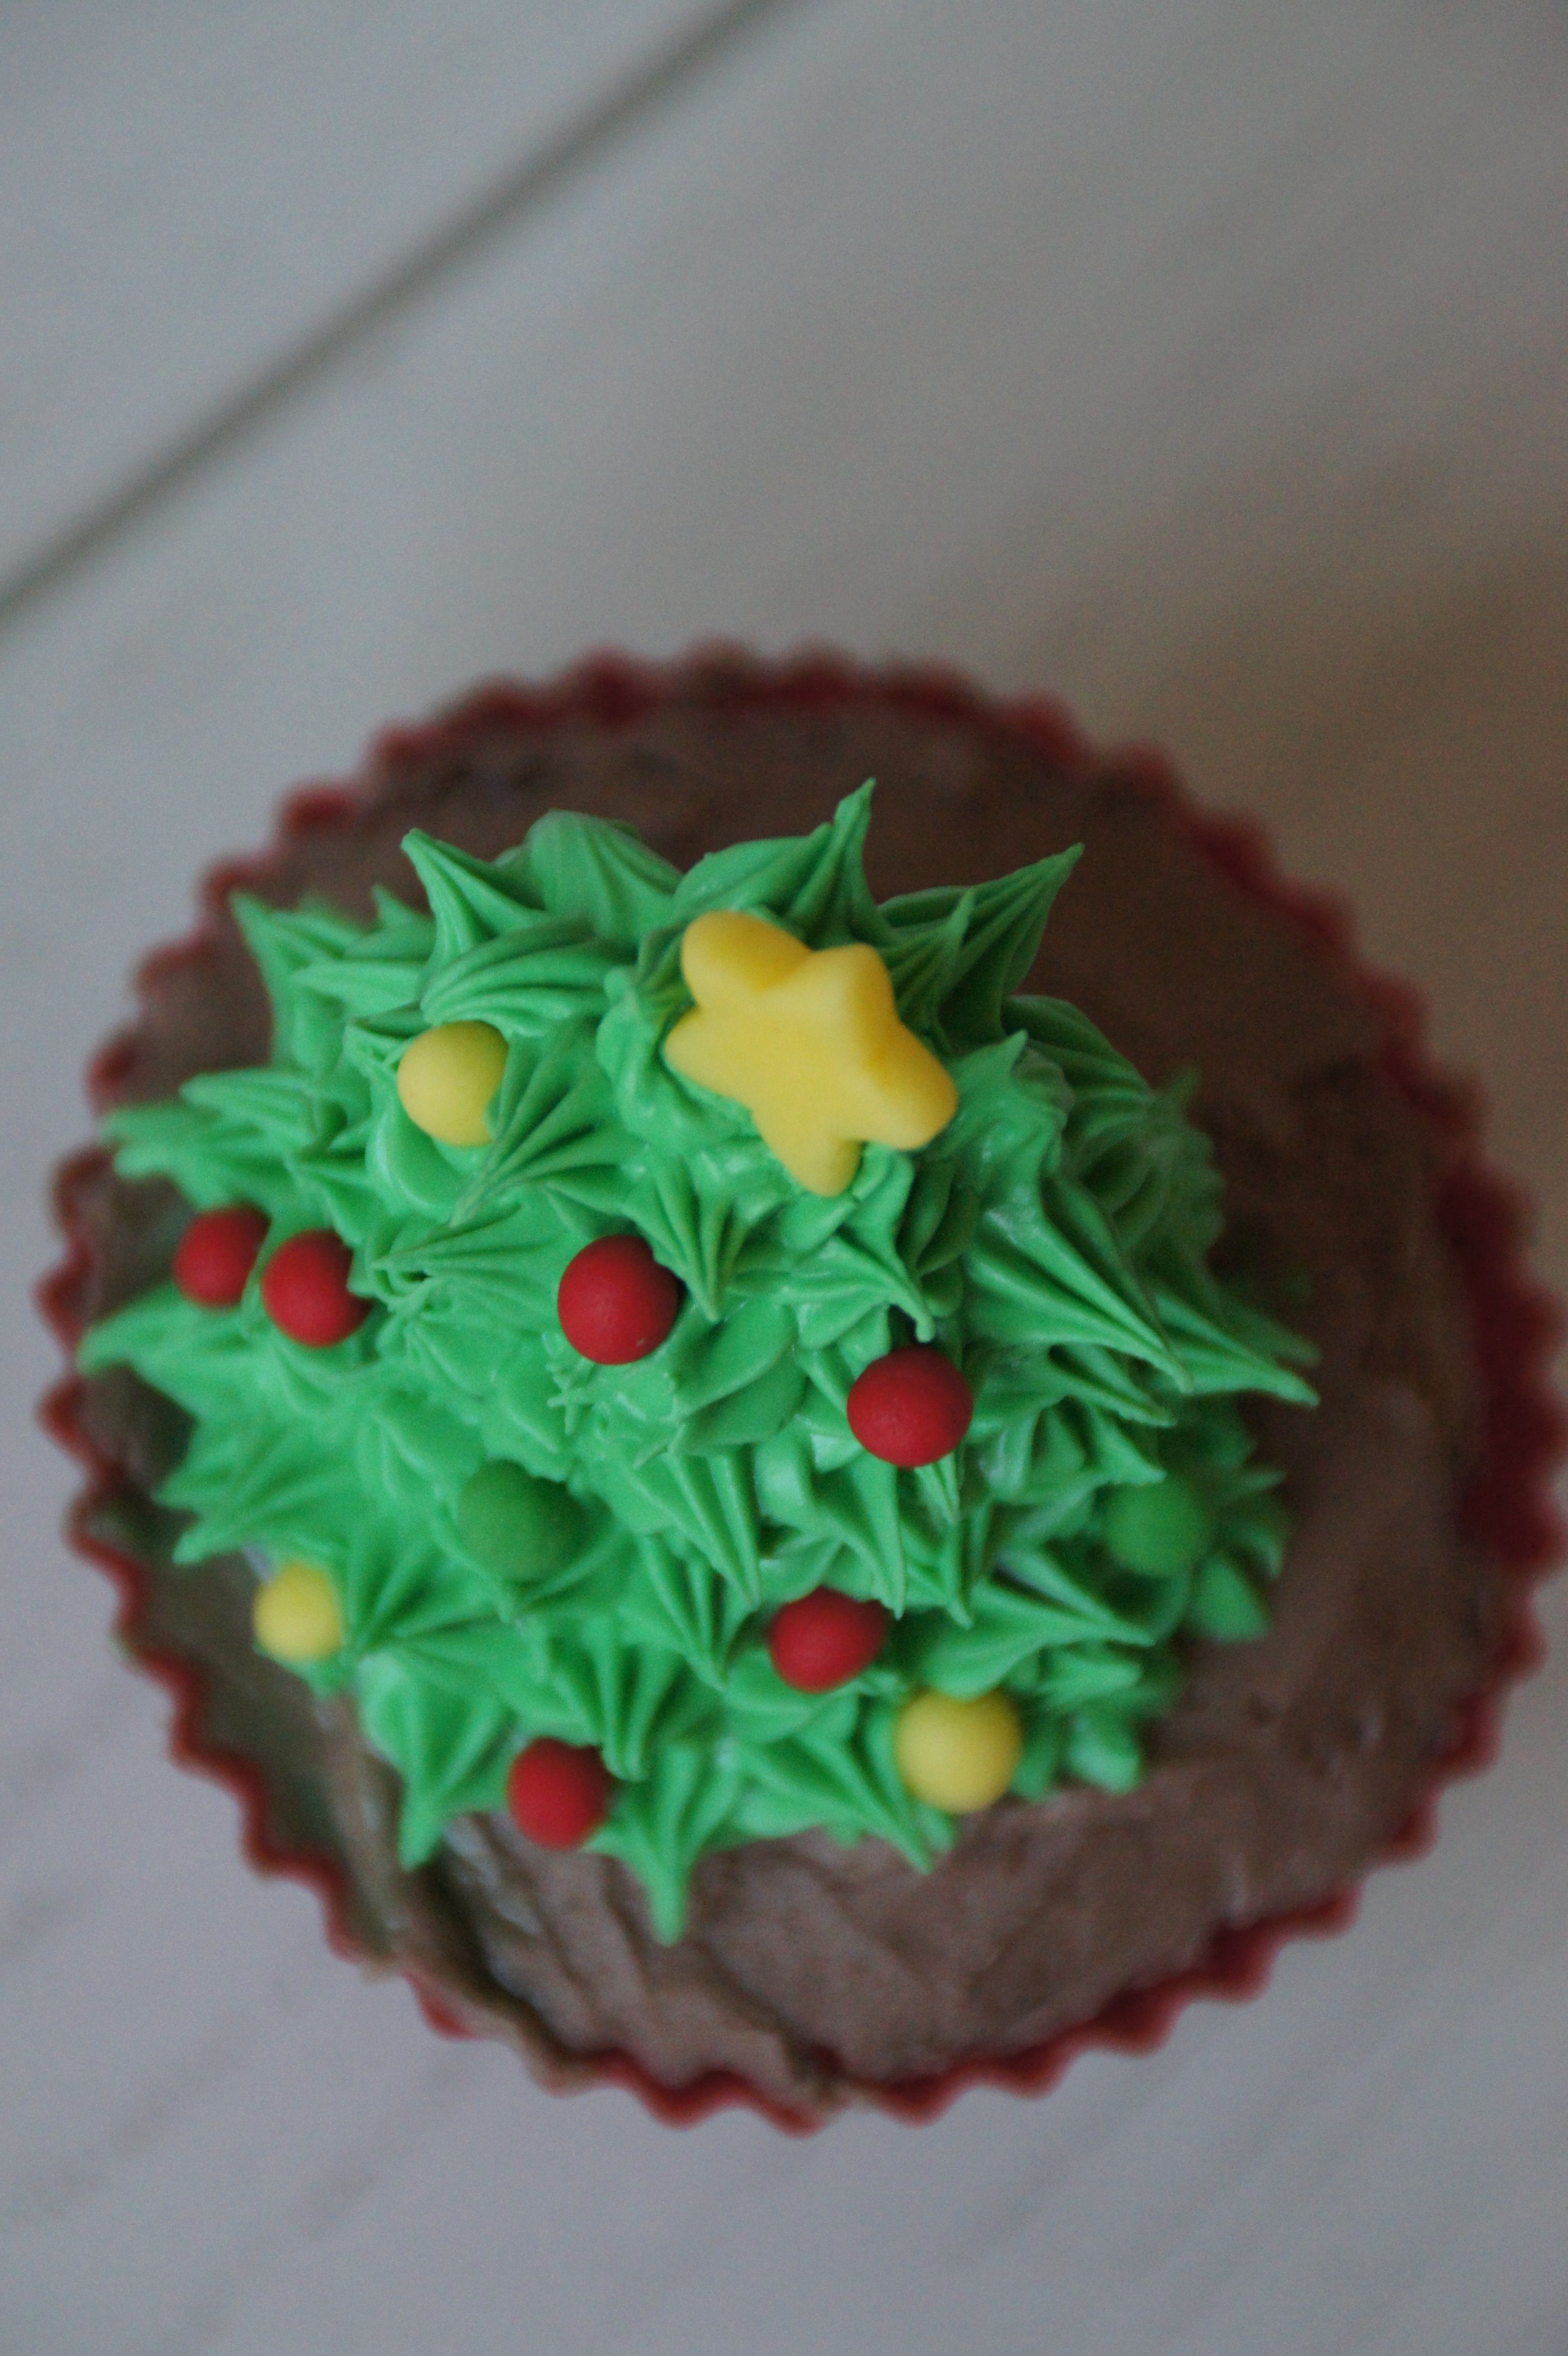
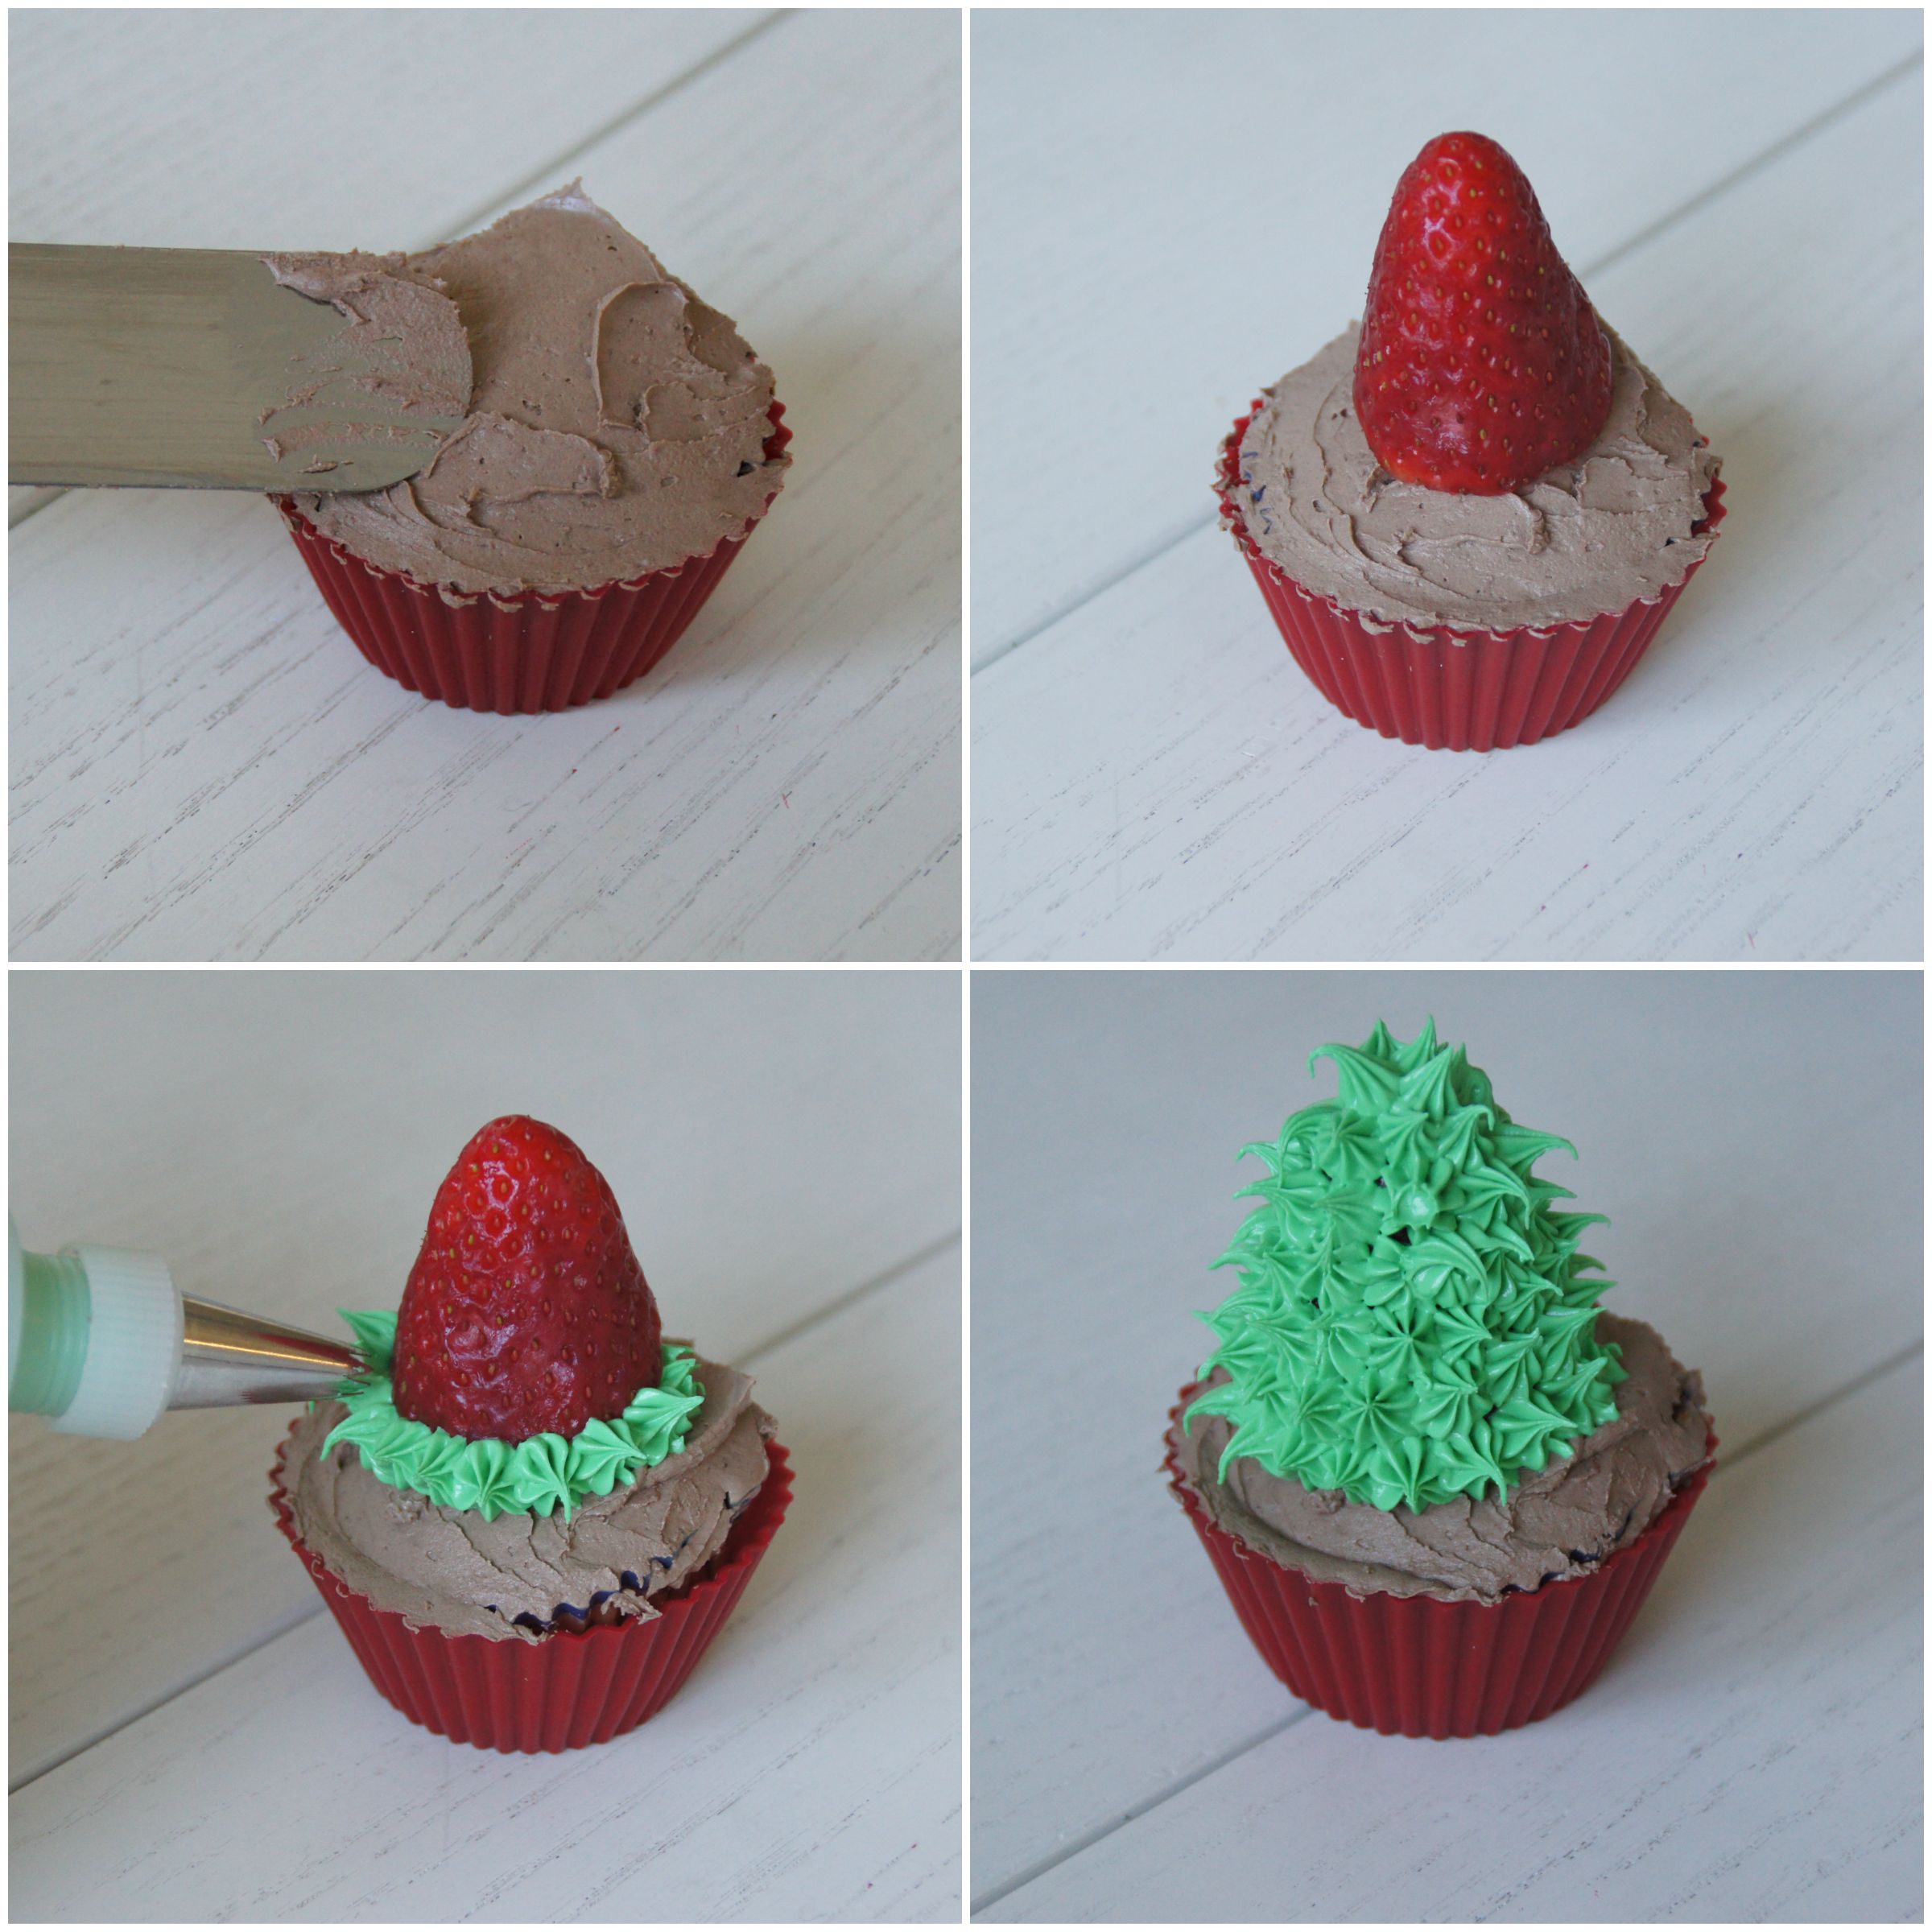
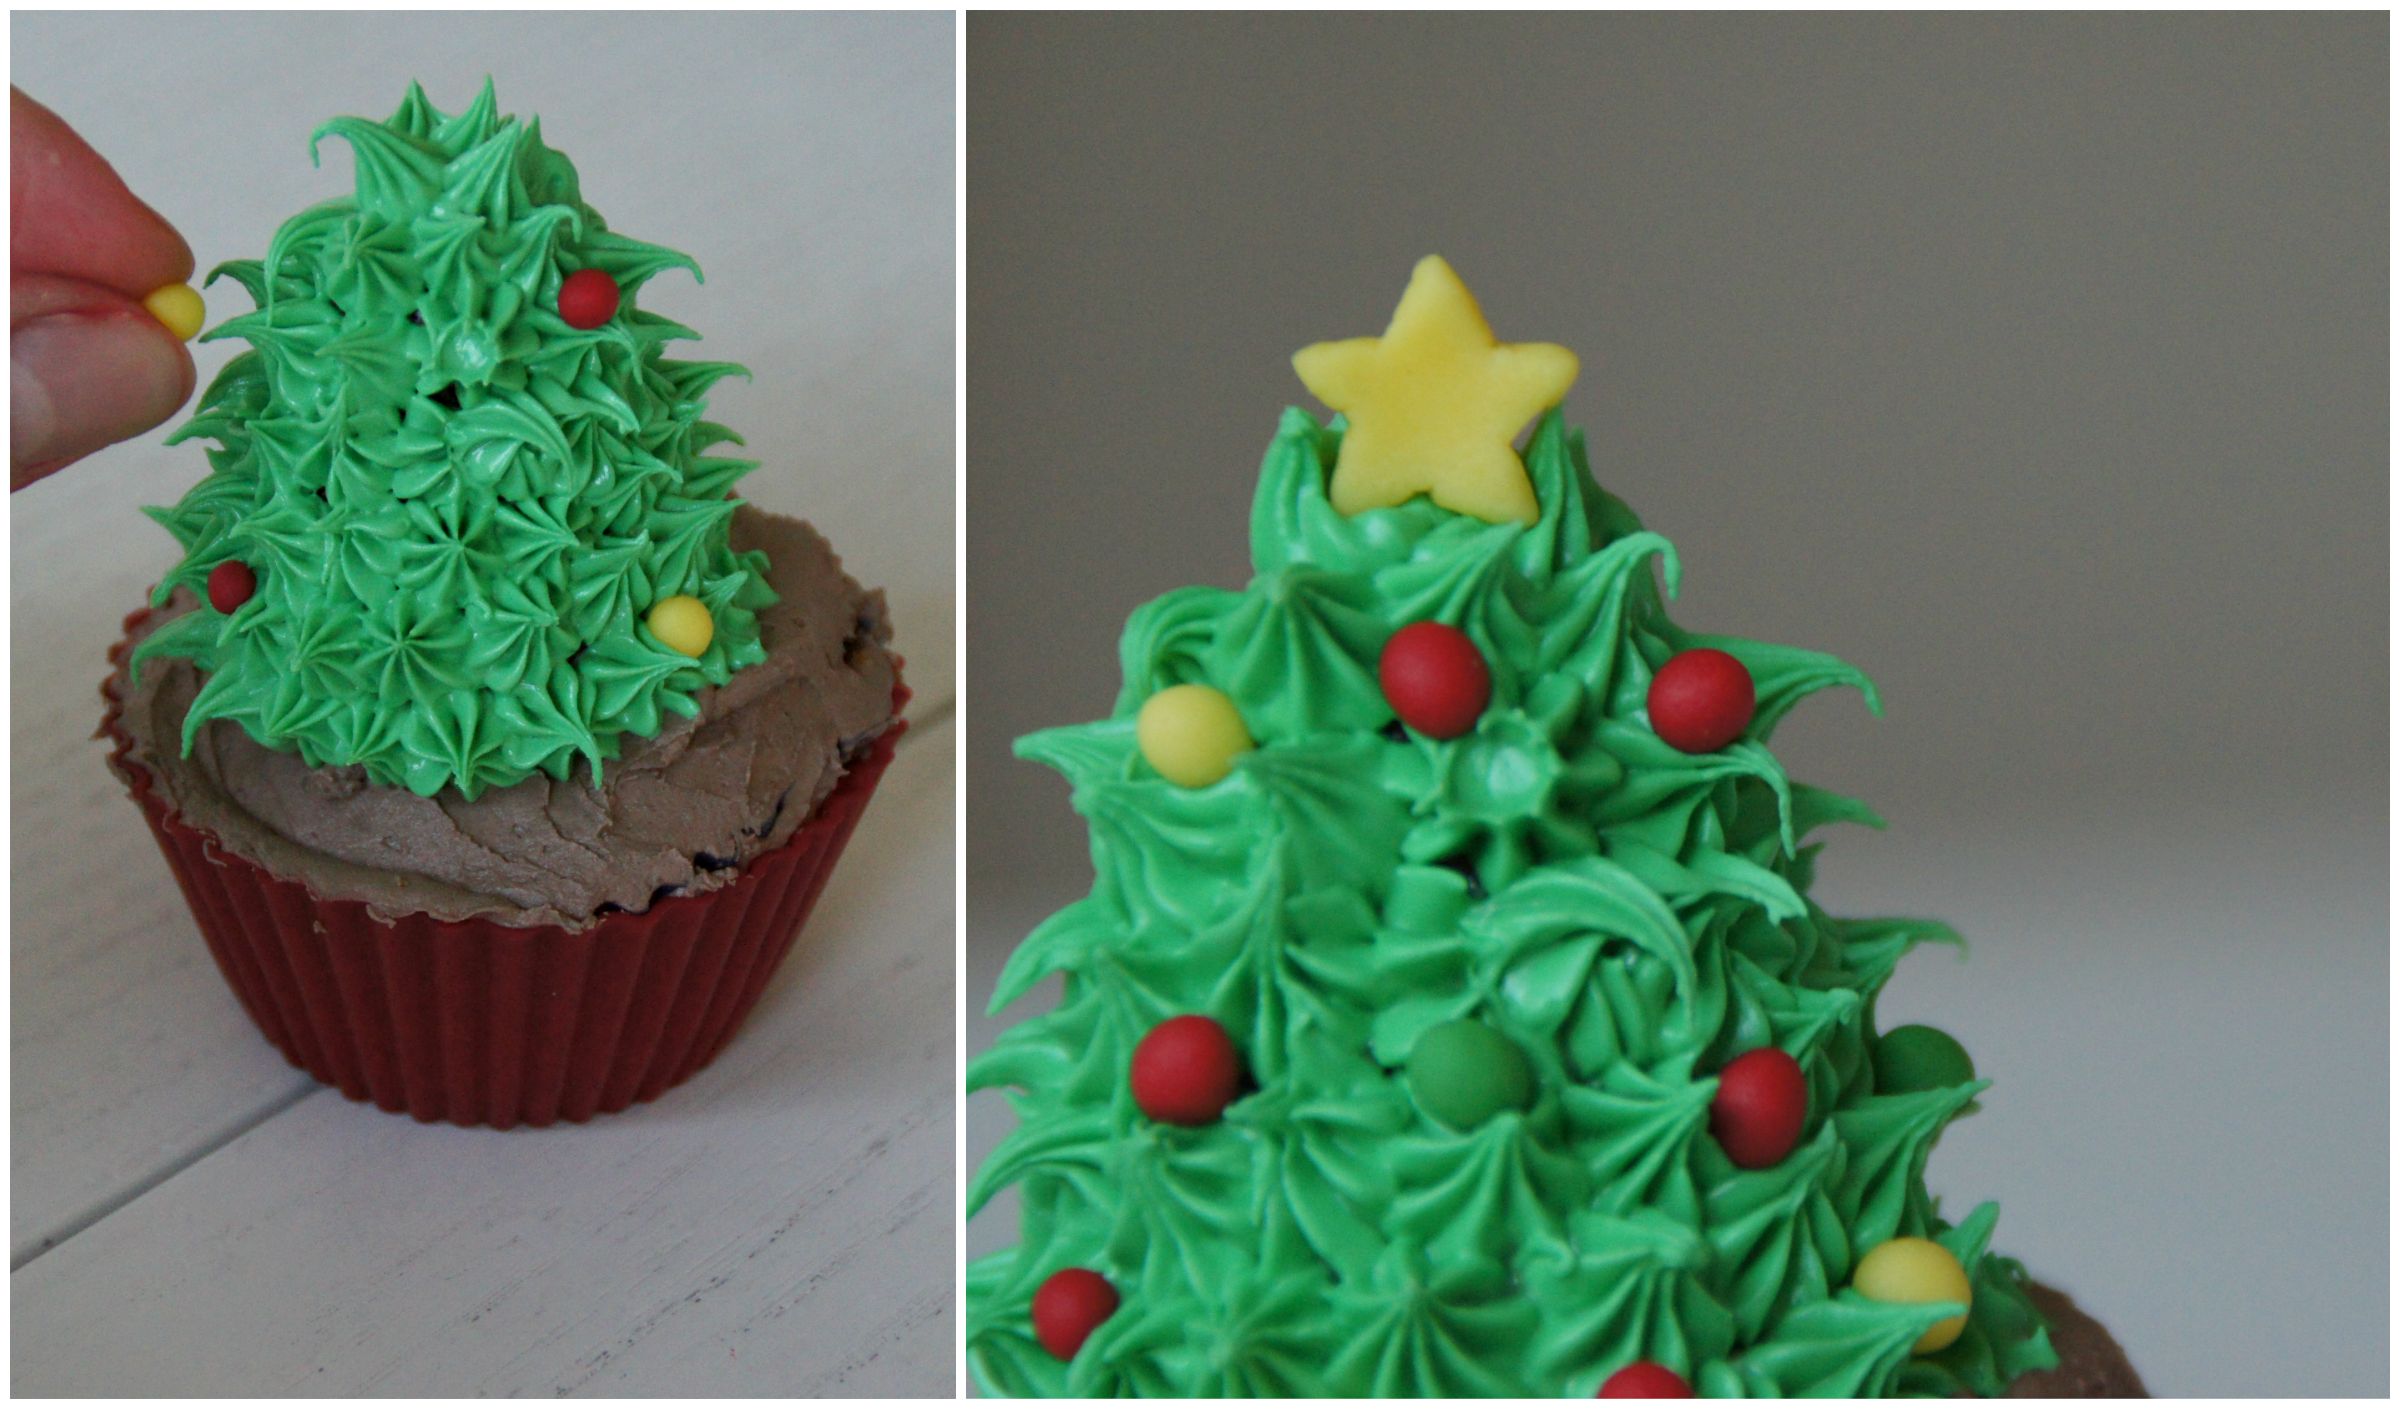
Decoramos la cupcakes al gusto y espolvoreamos una miguitas de cupcake por encima.

For the cream beat the butter, milk and icing sugar together for 5 minutes until white and fluffy. Then add the cream cheese (it needs to be cold!!) and beat in until fully incorporated. Your frosting needs to be light and creamy.

Decorate your cupcakes as you like then sprinkling some cupcakes crumbs on top!

Espero que paséis un buen día!

Victoria ♥

Hope you have a wonderful day!

Victoria

Christmas Cupcakes #2 / Cupcakes de Navidad #2

snowman2.jpg

Feliz Navidad!! Espero que paséis un día buenísimo con los vuestros! Hoy os traigo otra idea para decorar vuestras cupcakes de navidad!

Merry Christmas!! I hope you are having a great day with your friends and family!
I bring you an other idea to decorate your Christmas cupcakes!

Para esta cupcake de muñeco de nieve vais a necesitar:

  • Icing blanco
  • Un marshmallow
  • Fondant naranja
  • 3 bolitas verdes (de fondant o de azúcar)
  • Icing negro (teñir un poco del icing blanco que hagáis)
  • Una manga pastelera
  • Una boquilla redonda grande.
  • Un biberón con boquilla redonda muy finita.

For this snowman cupcakes you will need:

  • White icing
  • A marshmallow
  • Orange fondant
  • 3 little green pearls (made of fondant or sugar)
  • Black icing (dye some of the white icing you will be making)
  • One piping bag
  • One big round nozzle
  • One piping bottle with a very thin round nozzle

snowman1.jpgEmpezamos extendiendo un poco de icing hasta cubrir la cupcake. Después con la manga pastelera y la boquilla grande, hacemos una espiral que vaya subiendo hacia arriba con el icing blanco. Colocamos el marshmallow arriba y las 3 bolitas verdes como si fuesen los botones.

Start by spreading some icing on top of the cupcake. Then putt he icing in a piping bag and make a big swirl going up. On top of it place you marshmallow. Put 3 little green pearls as if they were three buttons.
Metemos icing negro en el biberón y hacemos los brazos trazando una línea hacia abajo y 3 palitos que serán los ‘dedos’. Para la boca hacemos puntitos en forma de sonrisa.

snowman3.jpg

Para la nariz cogemos un trocito de fondant naranja y le damos forma de cono. Con un cuchillo hacemos unas líneas presionando para imitar la zanahoria. Con un poco de agua la pegamos al marshmallow.

Por ultimo hacemos los ojos con el icing negro.

Put the black icing into the piping bottle and draw each arm by making a long line and then three little lines for the fingers. For the mouth, make little dots in the shape of a smile.

For the nose, use some orange fondant and make a cone, then with a knife press some line son it as if it was a carrot. With a little bit water, stick it on the marshmallow.

Finish it up by making the little black eyes.

snowman4.jpg

Pasar un buen dia!

Victoria ♥

Have a great day!

Victoria ♥

Christmas Cupcakes #1 / Cupcakes de Navidad #1

tree1.jpg

Hola chicos! Como no podía faltar os traigo ideas para decorar unas cupcakes especial navidad! Os iré enseñando diferentes diseños.

Hey guys! I couldn’t miss this opportunity of sharing with you some Christmas decorated cupcakes! I will be showing you different designs.

Para esta cupcakes de árbol de navidad vais a necesitar:

  • Una fresa
  • Icing verde
  • Icing marrón
  • Bolitas de colores (pueden ser he has a mano con fondant o compradas de azúcar)
  • Una estrellita (de fondant o comprada de azúcar)
  • Manga pastelera con boquilla de estrella (yo usé Wilton nº 21).

For this Christmas tree cupcake you will need:

  • A strawberry
  • Green icing
  • Brown icing
  • Little colour pearl (homemade made of fondant or of sugar from a store)
  • A little star (fondant or sugar)
  • Piping bag with a star nozzle (I used Wilton nº 21).

SONY DSC
Empezamos extendiendo un poco de icing marrón (el mío era de chocolate) para tapar la cupcakes.
Después cortamos lo verde de una fresa y la colocamos en medio de la cupcake.

First spread some brown icing (mine was chocolate) on the cupcake until covered.
Then cut the leaves of a strawberry and place it on the middle of the cupcake.
tree2.jpg
Ahora le toca al icing verde. Con una manga pastelera, empezando por abajo, vamos apretando y levantando para hacer pequeñas estrellitas. Poco a poco cubrimos toda la fresa. Colocamos las bolitas que queramos, que serán los adornos del árbol y por ultimo con cuidado lo coronamos con una estrellita.

Now is the turn of the green icing. Using a piping bag, start by the bottom and create little starts by pressing on the piping bag and then lifting it. Slowly cover the whole strawberry. Then place as many little pearls as you want, these will be the ornaments of your Christmas tree. Finally stick the little star on the top of the tree.
tree3.jpg
Espero que paséis una feliz noche con vuestra familia y amigos!
Mañana más!
Victoria  ♥

Hope you have a wonderful night with your family and friends!
See you tomorrow!
Victoria ♥

Snowflake Cupcakes / Cupcakes de copos de nieve

BeFunky_DSC07908.jpg


Hola! Hoy os tengo preparada una receta de cupcakes de vainilla. Es una receta muy clásica que se puede adaptar a cualquier ocasión con un poco de imaginación. Utilicé papelitos de cupcake más pequeños de los habituales y por eso me salieron 25. Con papeles de tamaño normal saldrán unas 15 aproximadamente.


Hey!! Today I share with you a very simple vanilla cupcakes recipe that you can adapt to special occasions with some decorations or colours. I used small paper liners and I got around 25 cupcakes, but you can use regular ones if you prefer, you will get around 15 cupcakes.


Receta del libro ‘Cupcakes de alta costura’:


  • 240 gr de azúcar
  • 120 gr de mantequilla a temperatura ambiente
  • 130 gr de harina
  • 30 gr de maicena
  • 4 huevos
  • una cucharadita de levadura
  • una cucharadita de vainilla


Para el icing:


  • 300 gr de azúcar glass
  • 300 gr de mantequilla a temperatura ambiente
  • 1 cucharadita de esencia de vainilla.
  • colorante alimenticio (opcional)


cupcakes2


Recipe from the book ‘Haute couture cupcakes’:


  • 300 gr of sugar
  • 120 gr of room temperature butter
  • 130 gr of flour
  • 30 gr corn flour
  • 4 eggs
  • 1 tsp of baking powder
  • 1 tsp of vanilla extract


Fort he icing:

  • 300 gr of powder sugar
  • 300 gr of room temperature butter
  • 1 tsp of vanilla extract
  • some food colouring (optional)


Precalentamos el horno a 180ºC. Tamizamos la harina, maicena y levadura y reservamos.


Preheat the oven at 180ºC. Sift the flour, corn flour and baking powder, set aside.


ramas

Batimos el azúcar con la mantequilla hasta obtener una mezcla cremosa. Añadimos poco a poco la mezcla de la harina, alternando con los huevo uno a uno, asegurándonos que están completamente incorporados antes de añadir mas harina. Por ultimo mezclamos la esencia de vainilla.


Beat the butter and sugar until creamy. Then little by little add the flour mix alternating with the eggs one by one. When everything is well combined, add the vanilla extract.


Repartimos la masa en las capsulas (no llenando más de ¾). Y horneamos 13 minutos si son capsulas pequeñas y 20 si son normales.


Spoon the mixture in the cupcake papers (filling them no more than ¾). Bake 13 minutes for small liners and 20 for regular ones.


Para el frosting batimos la mantequilla durante 1 minuto, añadimos el azúcar glass y el extracto de vainilla y batimos otros 4 minutos hasta que la mezcla sea ligera. Si queréis teñir el icing, ahora es el momento. Con la ayuda de un palillo súper limpio, coger un poquito de colorante en gel y añadirlo al la mezcla. Batir antes de poner más, a veces el colorante engaña!


Esperamos a que la cupcakes estén completamente frías para decorarlas. Yo usé una boquilla de estrella pero podéis usar la que más os gusté. Para terminar colocamos las decoraciones de copitos de nieve, o las que tengáis a mano!

snowcupcakes

For the frosting beat the butter for one minute, then add the icing sugar and the vanilla and beat for 4 more minutes, until smooth. If you want to colour your icing now is the time. With a very clean toothpick take some gel food colouring and add it to the mixture. Even if you thing you need more, mix everything together before adding any more, food colouring can be tricky!!


Decorate your cupcakes with a piping bag when they are completely cooled down. I used a star nozzle but you can use you favourite one. Then add the sugar decorations!


Espero que os hayan gustado.

Victoria ♥

P.D. Ya se acerca la Navidad y con ella recetas y DIY navideños! à próximamente!


Hope you liked them!

Victoria

 P.S. Christmas récipes and DIY à coming soon!


Cupcakes de Nutella y crema de avellana/ Nutella Cupcakes with hazelnut buttercream


IMG_1316

IMG_1305


Hola de nuevo!

Una de las cosas que más me gusta cocinar son cupcakes y por eso he pensado que sería una buena idea empezar con esta receta. Este año lo he pasado de Erasmus en Inglaterra y en mi cocina de allí no tenía batidora de varillas así que tuve que ingeniármelas para conseguir una receta de masa de cupcakes que se pudiese hacer con una batidora manual de las de toda la vida. En cambio, la crema que os propongo, si que necesita batidora eléctrica y aunque lleva un poquito más de trabajo, veréis que merece la pena!

La primera parte de la receta es muy sencilla, para 12 cupcakes necesitas:

–       un bote de Nutella

–       3 huevos

–       120g de harina

Primero ponemos a precalentar el horno a 180ºC. En un bol, batimos los huevos, con la batidora de mano es suficiente. Una vez batidos añadimos la Nutella y mezclamos bien hasta que se integren. Al principio costará un poco pero rápidamente obtendréis una mezcla brillante y homogénea.

A continuación añadimos la harina y la integramos con la ayuda de una espátula.

Ya tenemos nuestra masa lista, ahora falta ponerla en nuestras cápsulas de papel, sin nunca llenar más de 2/3 de la cápsula, y hornearlas durante 13-15 minutos a 180ºC. Podéis comprobar que estén listas, clavando un palillo en el centro del cupcake y mirando si al sacarlo está limpio.

Dejarlas enfriar sobre una rejilla, ya que no podemos decorarlas hasta que estén completamente frías.

IMG_1307


La receta de la crema de avellanas es del blog de Objetivo Cupcake Perfecto y sale buenísima! Utilizaremos:


–       5 yemas de huevo

–       70 ml de agua

–       220 de azúcar

–       350g de mantequilla a temperatura ambiente (fundamental!)

–       2 cucharadas de pasta de avellana italiana


Tras separar la claras y las yemas, colocamos las yemas en el bol de la batidora de varillas y batimos a velocidad media-alta.  Mientras tanto ponemos el agua y el azúcar en un cazo y lo calentamos hasta que llegue a los 118-120º en nuestro termómetro. Cuando ya ha alcanzado esa temperatura, lo vertimos muy poco a poco sobre las yemas, sin dejar de batir.

Seguimos batiendo durante 10 minutos más o menos, hasta que la mezcla esté totalmente a temperatura ambiente. Esto es MUY importante porque si sigue caliente, se nos derretirá la mantequilla y echaremos a perder nuestra crema.

Cuando esté a temperatura ambiente, añadimos poco a poco la mantequilla (que también está a temperatura ambiente) y batimos durante 5 minutos más hasta que  la crema coja consistencia. Por último incorporamos la pasta de avellana.


IMG_1309


Traspasamos la crema a una manga pastelera y decoramos. Yo he utilizado una boquilla de estrella pero podéis utilizar la que queráis.

Para rematar, unos sprinkles o unas letras de chocolate.

Para las letras, derretir una tableta del chocolate que más os guste al baño maría. Esperar que temple un poquito y meterlo en una manga pastelera con una boquilla redonda muy fina. Sobre papel de horno dibujar las letras o figuras que prefiráis y dejarlas que se endurezcan en la nevera. Solo quedará despegarlas con cuidado, colocarlas sobre los cupcakes y listo!

Gracias por leerme!

Victoria


IMG_1319

Hello again!

One of the things that I love cooking is cupcakes and that’s why I’ve decided to start with this recipe. I’ve spent my last year in the UK, and I didn’t even have an electric beater in my kitchen so I had to find a recipe that I could whisk with a fork. It’s a very handy and simple recipe that I’m sure you will like. On the other hand, for preparing the buttercream we will need the electric beater and even though it is a little bit harder, it would be worth the effort, you’ll see!


The first part of the recipe is very easy, for 12 cupcakes you will need:

–       3 eggs

–       1 Nutella jar

–       120g of flour

First we pre-heat our oven at 180ºC (350F). In a large bowl we whisk the eggs and then add the Nutella. At first it would be hard to combine them but don’t panic and keep whisking until you have a shiny and smooth batter. Add the flour and gently stir with a spatula. Once your batter is ready, scoop it into your cupcake tins, never filling up more than 2/3rds and bake them for 13-15 minutes at 180ºC. You can check if they are baked by inserting a toothpick and looking if it’s clean.

Leave them to cool on a wire rack; we can’t put any buttercream on them until they are completely cooled down to room temperature.

IMG_1308


The hazelnut buttercream recipe is from a Spanish blog called ‘Objetivo Cupcake Perfecto’ and it’s delicious! We will need:

–       5 egg yolks

–       70ml of water

–       220g of sugar

–       350g of butter (room temperature)

–       2 tablespoons of hazelnut paste

In a large bowl beat the egg yolks at medium-high speed. Meanwhile, heat up the sugar and the water in a saucepan until it reaches 118-120ºC in our thermometer. Once the right temperature is reached, slowly pour it onto the yolks and keep mixing.

Continue for about 10 minutes, until the mix is at room temperature. This is VERY important because if it still hot and we add our butter, it will melt and the buttercream will be ruined.

Once it has cooled down, add the butter and keep mixing for 5 more minutes and then put in the hazelnut paste for a great flavour!

Place your buttercream into a piping bag and decorate your cupcakes. I used a star nozzle but you can use whichever you want. To finish up you cupcakes, add some sprinkles or chocolate letters.

For the letters, melt one bar of you favourite chocolate using a double boiler. Wait for it to cool a l

ittle bit and put it in a piping bag with a small round nozzle. Draw your letter or figures on a sheet of baking paper and leave them to harden in the fridge. Then you only need to carefully take them of the paper and place them on top of your cupcake!


Thanks for reading me!

Victoria