Frozen Chocolate Banana Popsicles /Polos de platano y chocolate

SONY DSC

Esta receta es perfecta para hacer con niños porque es sencilla y seguro que les encanta!


This recipe is perfect for doing it with kids because it’s really easy and they will love it!


Para 8 polos

-4 plátanos pequeños

-115 gr de chocolate para fundir

-una cucharada de aceite de girasol

– avellanas machacadas, coco rallado, sprinkles …

-8 brochetas, palitos de polo o lo que tengáis en casa.


For 8 popsicles


-4 small bananas

-115 gr of chocolate

– 1 tablespoon of sunflower oil

– Chopped hazelnuts, dried coconut, sprinkles…

-8 Popsicle stick, toothpicks or whatever you can find.

SONY DSC


Primero pelamos y cortamos los plátanos por la mitad. Insertamos el palito de madera y metemos al congelador durante 25 minutos, en un plato forrado con papel de horno para que no se pegue.


First peel and cut the bananas in half. Insert the popsicle stick, put the bananas on a plate lined with parchment paper and place them in the freezer for 25 minutes.


Mientras tanto derrite el chocolate con el aceite al año maría. Saca los plátanos del congelador y úntalos en el chocolate derretido, cubriéndolo completamente.


Meanwhile melt the chocolate with the oil over a double boiler. Dip the bananas in the mixture until fully covered.

SONY DSC

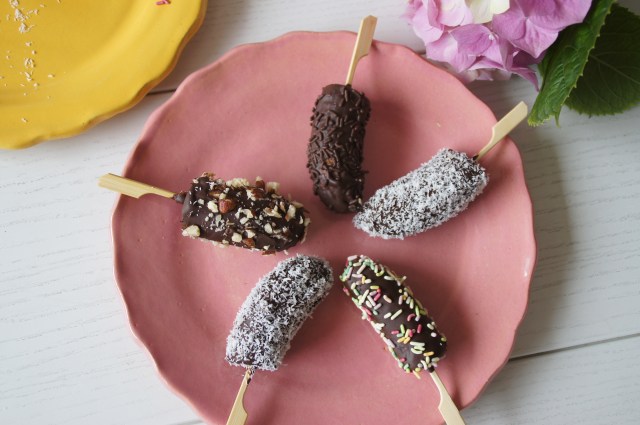
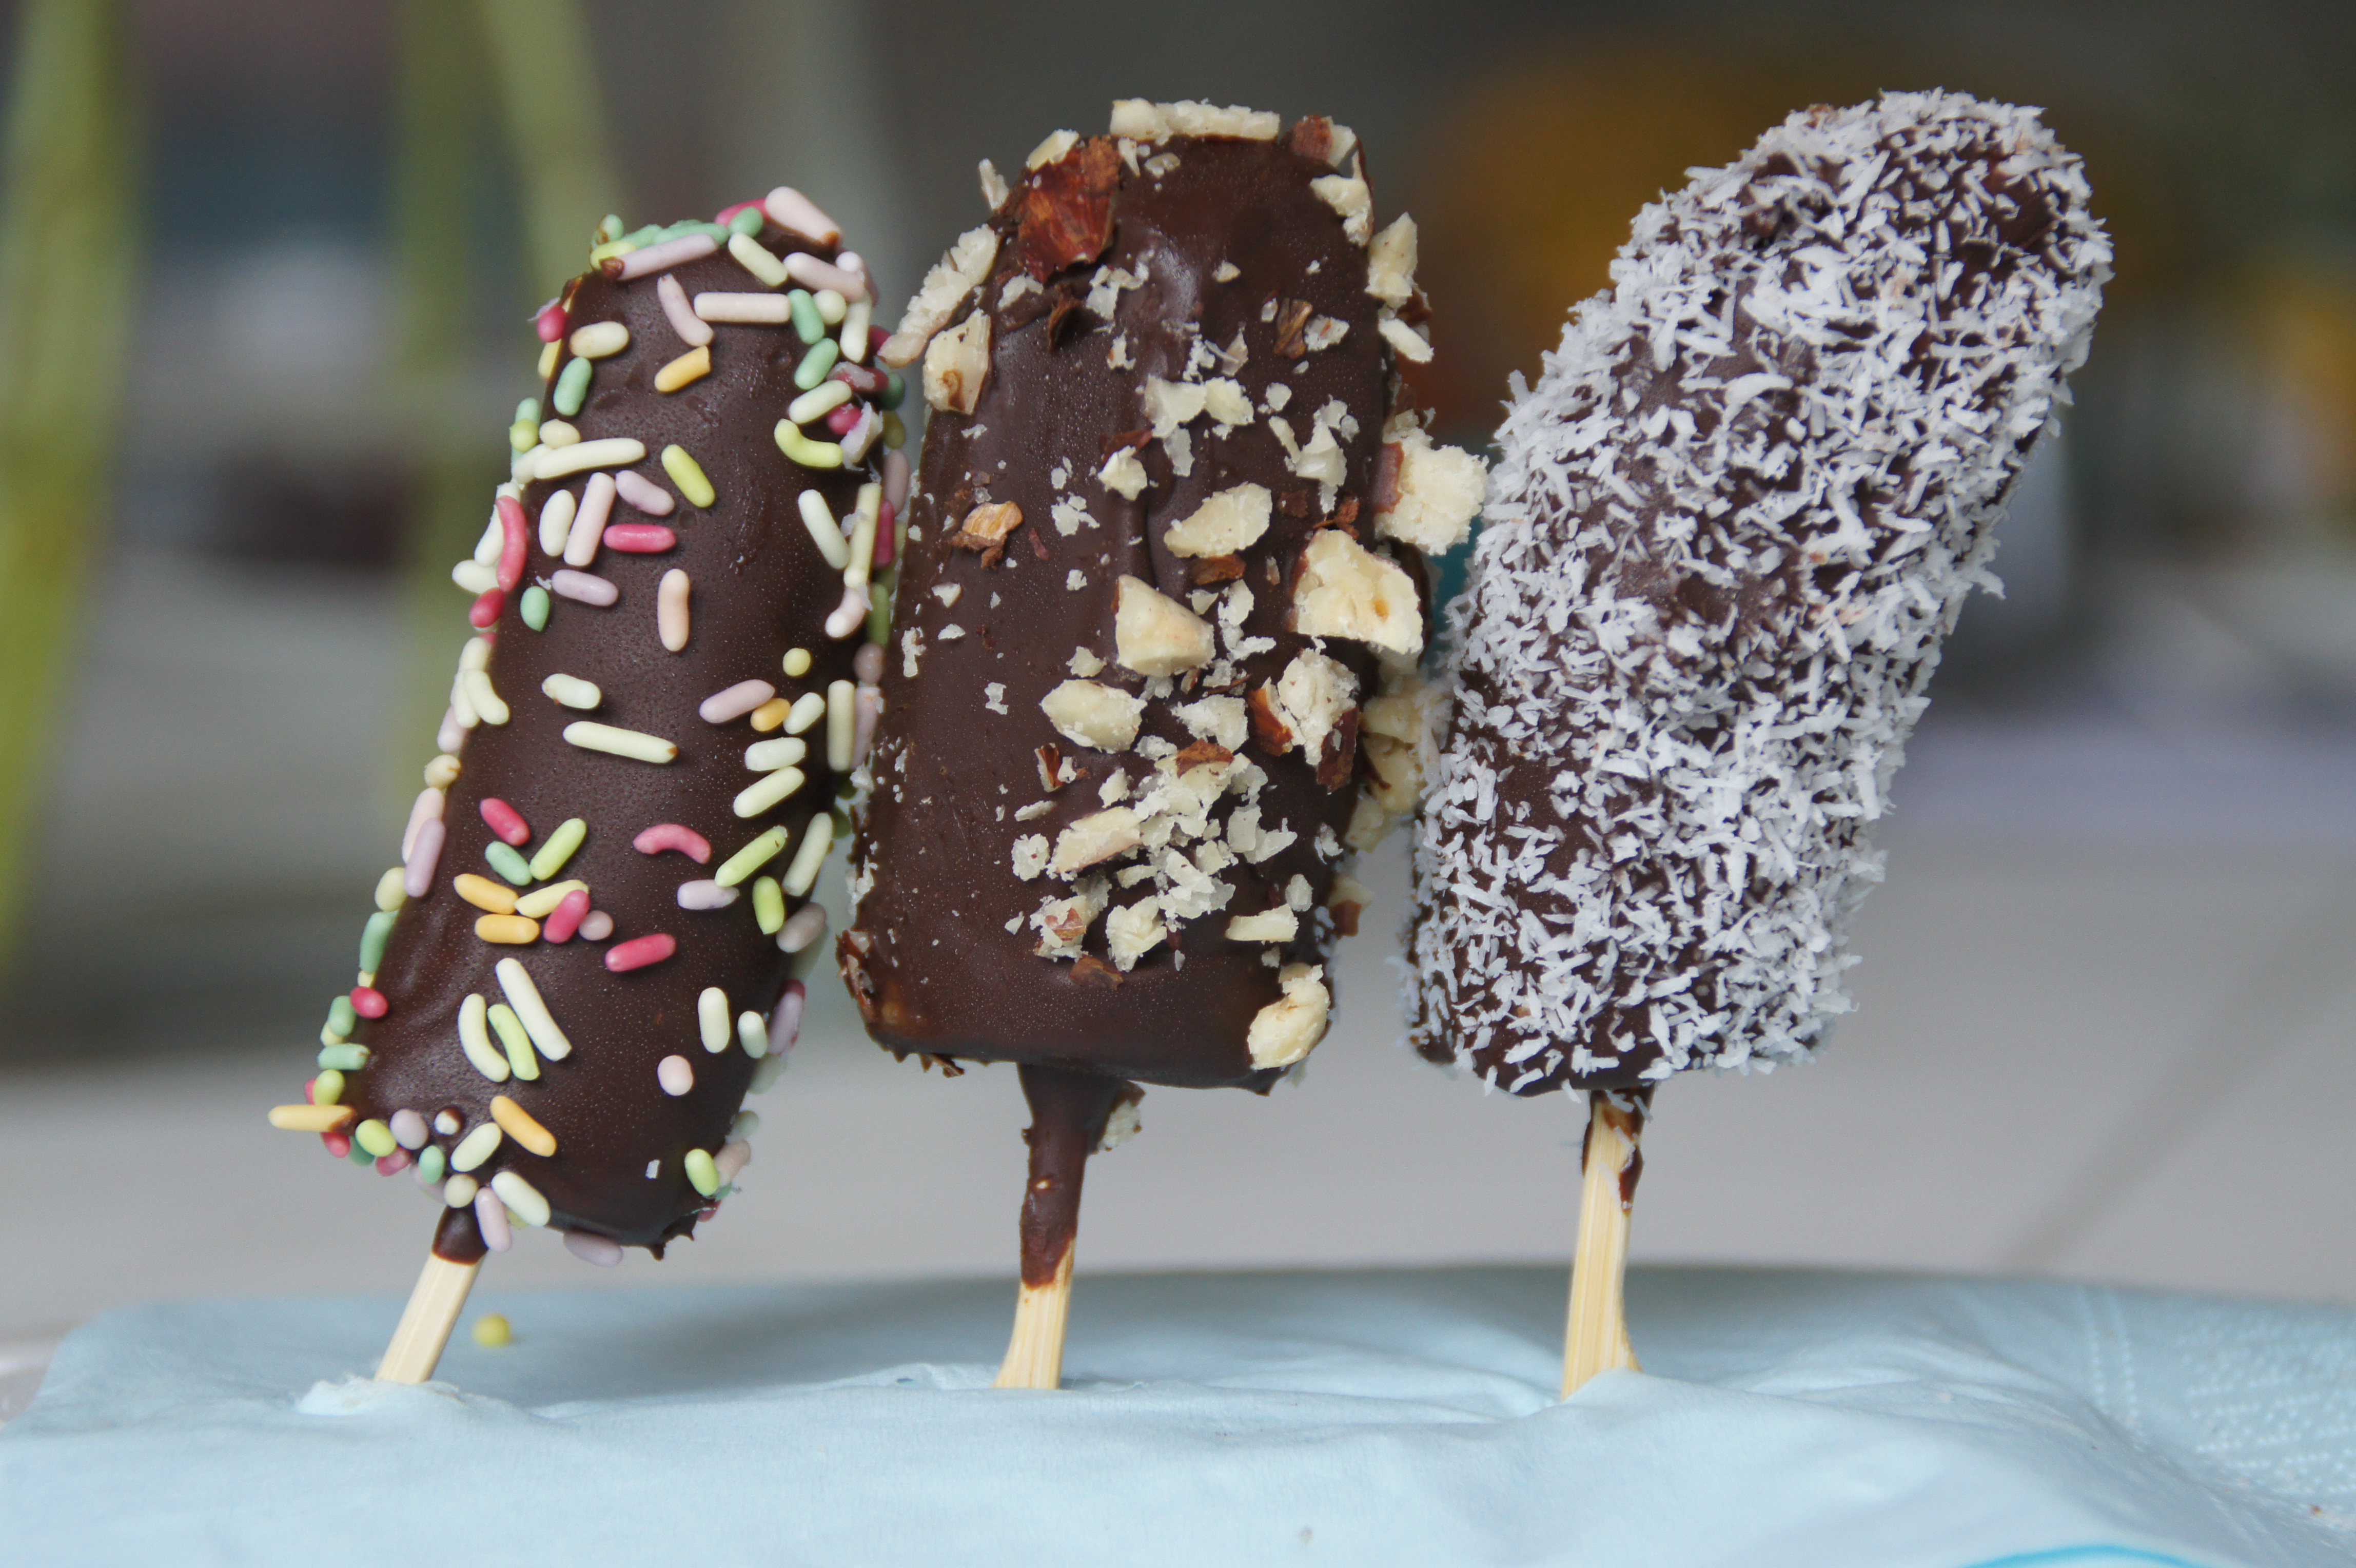
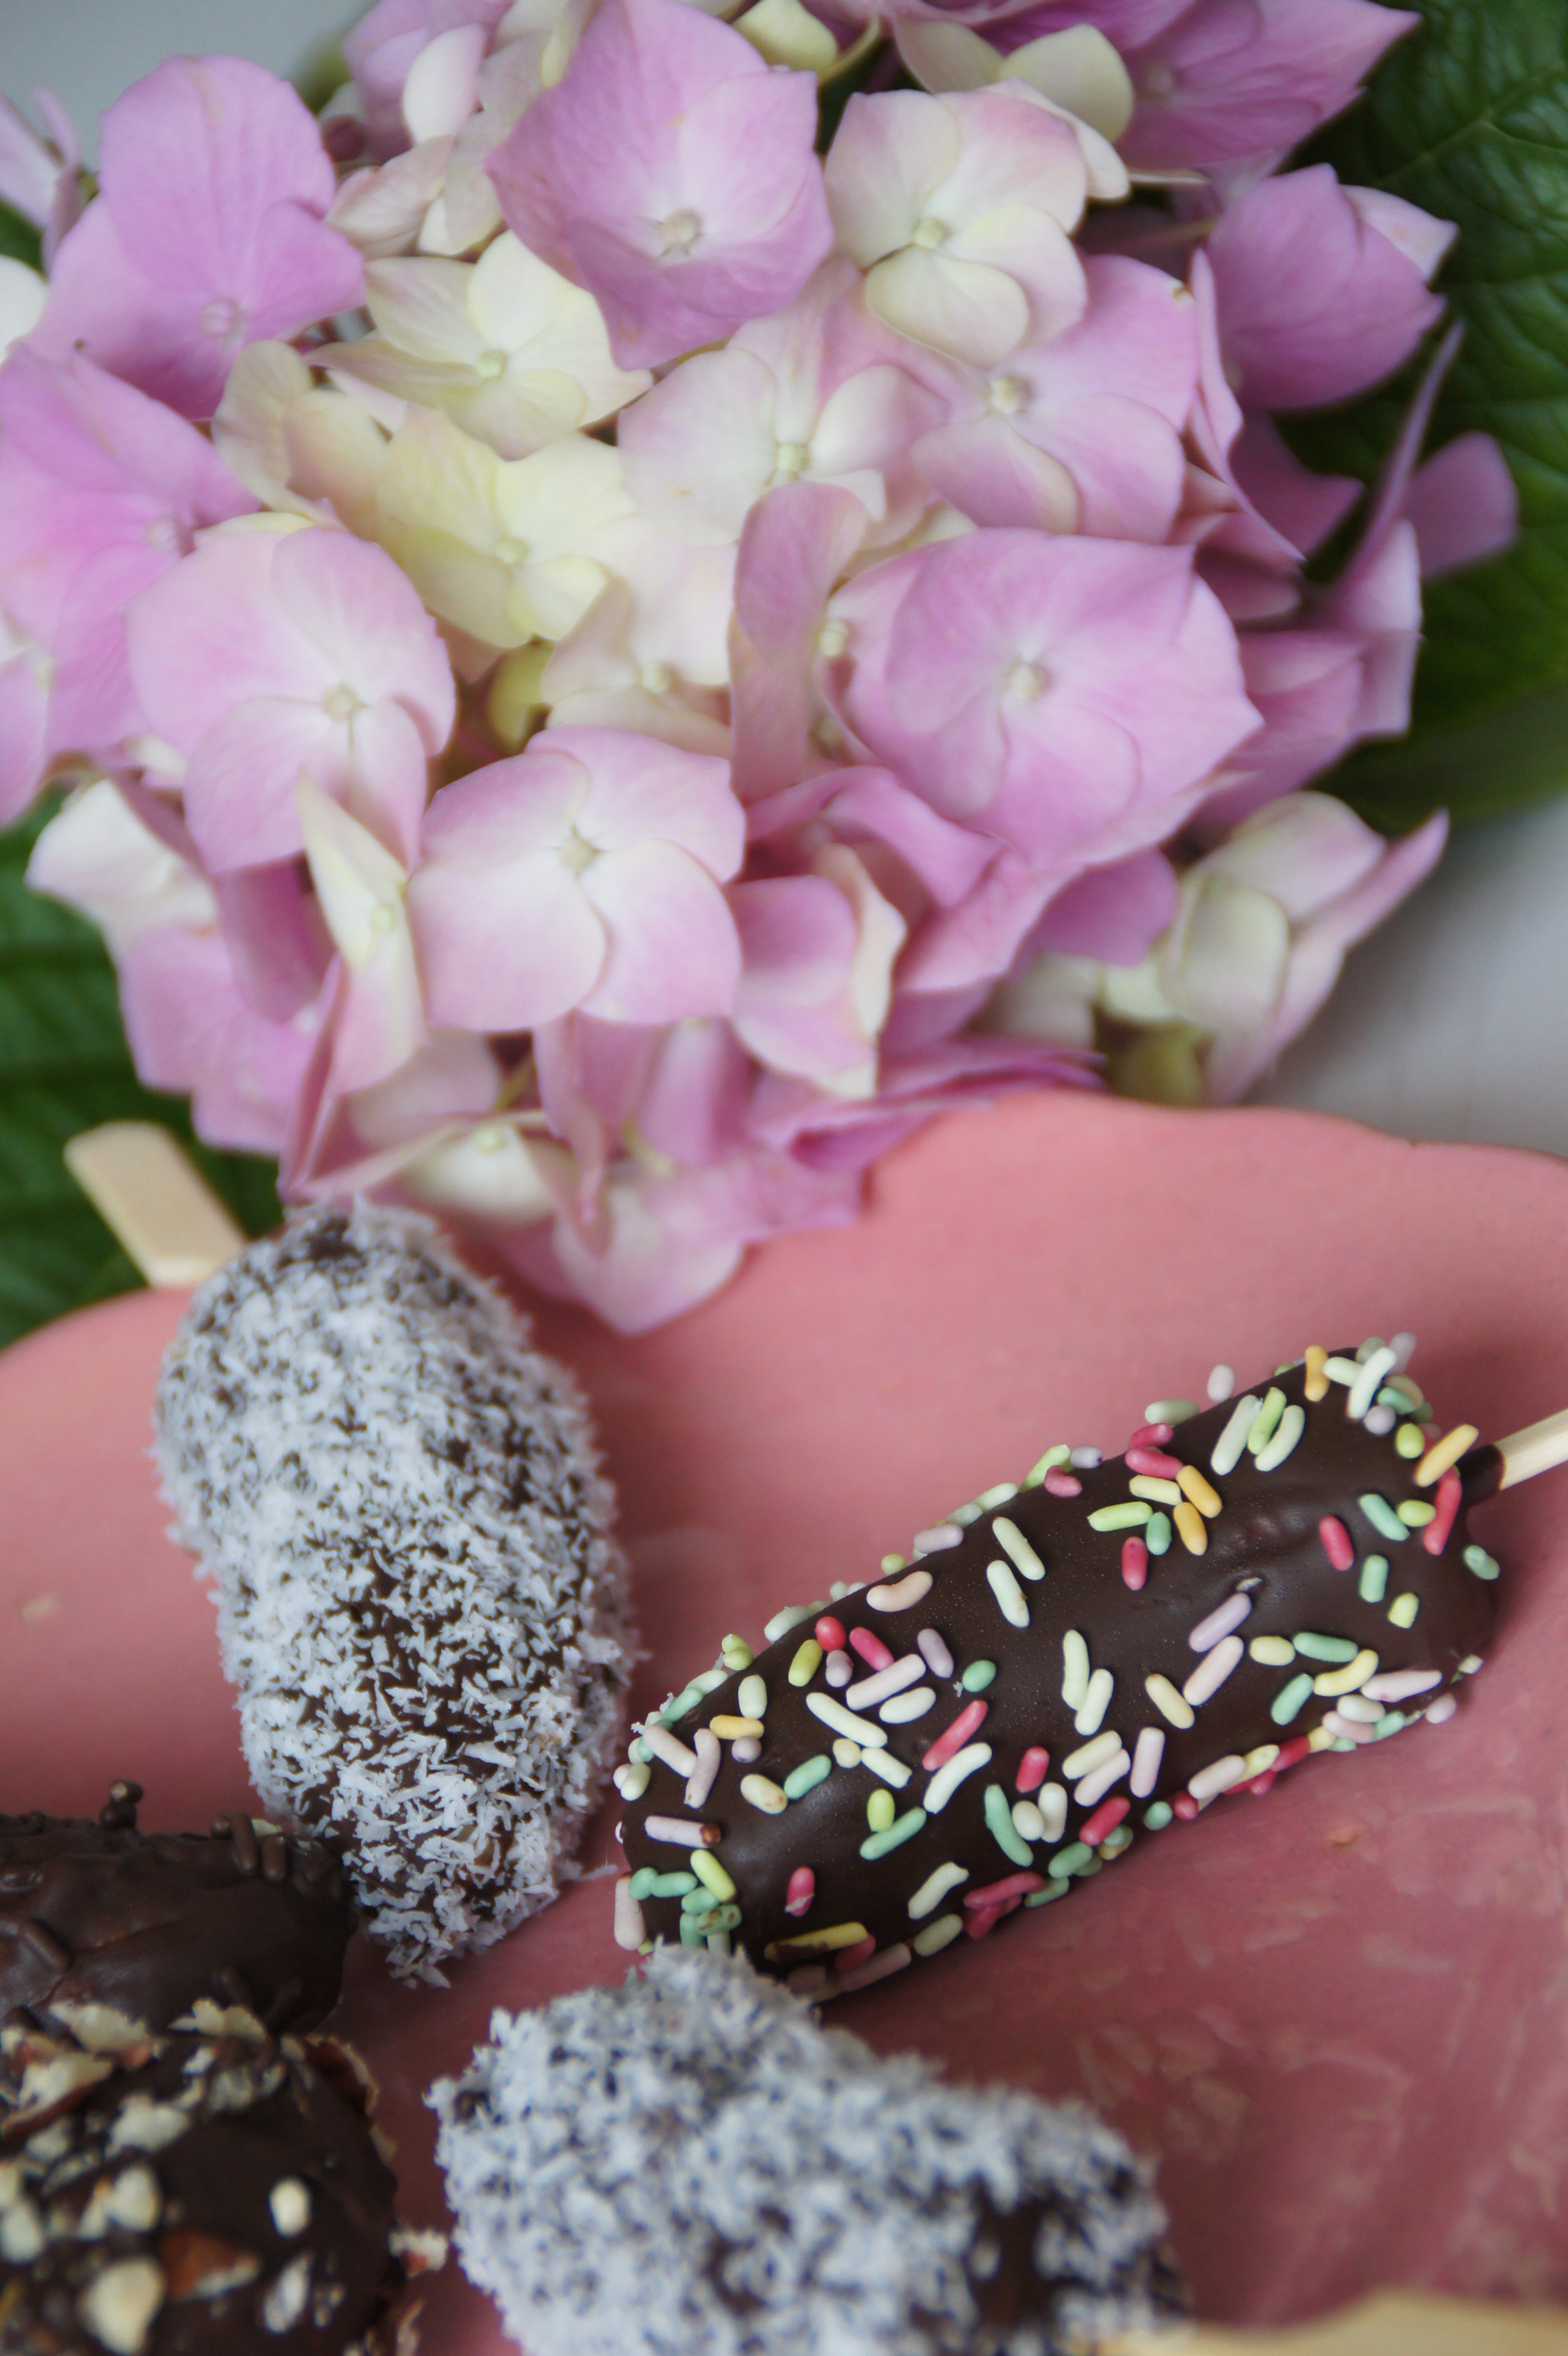
Cubrir antes de que se seque con lo que más os guste: avellanes, sprinkles, almendras, coco rallado … Podéis comerlos ahora o volver a meterlos al congelador. Recomiendo sacarlos 20 minutos antes de comerlos para que no estén demasiado duros.


Cover before it dries out with dried coconut, chopped hazelnuts, sprinkles… You can eat them right away or put them back in the freezer again I suggest you to take them out of the freezer 20 minutes before eating them. So that they are not very hard.

 SONY DSC

Que los disfrutéis!

Victoria ♥


Enjoy!

Victoria


Mousse de frambuesa/ Raspberry mousse

SONY DSC

Hola! Hoy os propongo una mousse de frambuesa que aparte de ser sencilla y estar buenísima es un postre perfecto para el verano.


Hello! Today I bring you a raspberry mousse that apart from being easy and delicious it is a perfect dessert for summer time.


Para 8 tarritos individuales:

–       500 gr de frambuesas (pueden ser frescas o congeladas)

–       100 gr de azúcar

–       150 gr de nata para montar

–       2 huevos

–       2 cucharadas de leche

–       3 hojas de gelatina.


For 8 individual pots

–       500 gr of raspberries (can be fresh or frozen)

–       100 gr of sugar

–       150 gr of cream

–       2 eggs

–       2 tbs of milk

–       3 gelatine sheets


SONY DSC

Primero ponemos las hojas de gelatina en agua fría para que se ablanden.

Mientras tanto reducimos las frambuesas a puré y ponemos en un cazo con el azúcar. Calentamos la mezcla, sin que llegue a hervir.

Una vez caliente retiramos del fuego y añadimos las hojas de gelatina escurridas para que se disuelvan. Dejamos que vuelva a temperatura ambiente.


First we put the sheets of gelatine in cold water to soften them.

Meanwhile, reduce the raspberries to puree and put the in a small saucepan with the sugar. Heat up the mixture, but don’t let it boil!

Once hot, remove from the heat and add the gelatine sheets in order for them to dissolve. Let the mixture cool down to room temperature.

SONY DSC

Montamos la nata y la leche, reservamos en la nevera.

En otro bol separamos las claras y las montamos a punto de nieve.

Añadimos el puré de frambuesa al bol de la nata montada y integramos.

Poco a poco añadimos las claras montadas.

Repartimos la mezcla en 8 tarritos.

Dejamos al menos 12 horas en la nevera y decoramos con frambuesas.


Whip the cream and the milk until stiff; put it in the fridge.

In another bowl separate the whites and the yolks and beat the egg whites until they form stiff peaks.

Add the raspberry puree to the cream and fold together.

Slowly add the egg whites and mix carefully.

Share out the mixture between the 8 little pots.

Let it stand in the fridge for at least 12 hours and the decorate with some extra raspberries.


Esta receta se la dedico a mi amiga Carmen, una fantástica cocinera, espero que os haya gustado!

Victoria  ♥


This recipe is dedicated to my friend Carmen, an amazing chef. Hope you liked it!

Victoria ♥

SONY DSC

Visita exprés a Suiza / Lighting trip to Switzerland

SONY DSC


El jueves pasado fui con parte de mi familia a la graduación de mi primo en Montreux. Aprovechamos para visitar la cuidad y sus alrededores. Pude disfrutar de las vistas al lago desde Caux y de las increíbles montañas de Gruyere; y todo esto comiendo fenomenal.


Last week I went to Montreux, Switzerland, to attend my cousin’s graduation. We visited the town and it’s surroundings. I enjoyed the views from Caux and the amazing mountains near Gruyere; all of it eating in great places!


SONY DSC

Gruyère


SONY DSC

Framboise à la crème- Le Chalet de Gruyère

SONY DSC


SONY DSC


SONY DSC

Restaurant ’45’ Hôtel Suisse-Majestic


SONY DSC

Lac Leman


SONY DSC

Tiramisú- Le Rouvenaz


Aunque solo fueron tres días los paisajes me enamoraron y he añadido Suiza a mi lista de destinos a los que me gustaría volver.


Although it was only a three-day trip, I’ve fallen in love with the landscapes and I added Switzerland to my list of places I have to come back to.

Victoria ♥

Mini Merengues/ Meringue kisses

IMG_1413

Esta es una de esas recetas que preparas cuando has utilizado yemas de huevo y te han sobrado un montón de claras. A mi siempre me ha dado pena tirarlas así que como solución: hago merengues.


This is one of those recipes you make when you have used egg yolks and you end up with a bowl of egg whites. I always feel bad about throwing them away so instead: I make mini meringues!

IMG_1410


Para unas tres docenas de merengues:

-300g de azúcar súper fina

– 150g de claras (5 claras)

– colorante alimenticio (opcional)


For three dozen of mini meringues:

-300g of superfine sugar

-150 g egg whites (about 5 eggs)

– Food coloring (optional)

kisses

Precalentamos el horno a 200ºC.

Batimos las claras en un bol hasta que se formen picos o hasta que podamos poner el bol boca abajo y no se caigan.

Después, mientras batimos a máxima velocidad añadimos el azúcar de cucharada en cucharada, comprobando que los picos vuelven a aparecer entre cada una.

Una vez todo el azúcar este añadido, continuamos batiendo unos 5-7 minutos. Sabremos que está listo cuando al pasarlo entre los dedos no notemos ni un granito de azúcar.


Preheat your oven at 200ºC.

Beat the egg whites until stiff peaks form and you can turn the bowl upside down without the eggs falling out.

Then, while you beat the whites at high speed add the sugar, one spoon at a time, checking the whites come back to stiff peaks after each spoon.

Once all the sugar is added, continue beating during 5-7 minutes. You will know it’s ready if you rub the mixture between your fingers and don’t feel any grit from the sugar.

IMG_1368

Para que salgan con rayitas de color, damos la vuelta a una manga pastelera y pintamos varias franjas con la ayuda de un pincel y nuestro colorante. Volteamos la manga para el colorante esté por dentro y introducimos nuestro merengue con cuidado. No hace falta poner boquilla, con cortar la punta de la  manga es suficiente.

To stripe the kisses, turn a piping bag inside out and paint some stripes of food coloring. Roll the bag so that the painted side in inside and spoon in your mixture. You won’t need a piping nozzle, only cut the end of the  piping bag.

 IMG_1416


En una bandeja de horno con papel de hornear encima, vamos presionando la manga para crear los merengues.

Horneamos 30-40 minutos hasta que los merengues se separen del papel con solo tocarlos. Dejamos que se enfríen y listo!

Espero que os haya gustado!
Victoria ♥


Pipe the kisses on a rimmed baking tray lined with parchment paper.

Bake for about 30-40 minutes, until the kisses separated from the paper with only touching them. Leave them to cool and they are ready to eat!

Enjoy!

Victoria ♥

Cupcakes de Chocolate /Chocolate Cupcakes

SONY DSC

Hoy toca otra receta muy chocolateada! Cupcakes de chocolate con buttercream de chocolate. ¿Que más se puede pedir?


Today I’m sharing a very chocolaty recipe! Chocolate cupcakes with chocolate buttercream. What else can you ask for?


Para 12 cupcakes necesitarás:


-100gr de mantequilla a temperatura ambiente

– 180gr de azúcar

– 2 huevos

-165ml de leche entera

-150gr de harina

-una cucharadita de bicarbonato de sodio (lo venden en el supermercado y sino en la farmacia!)

– una pizca de sal

– 40gr de cacao en polvo


Para la buttercream:

–       150 gr de mantequilla a temperatura ambiente

–       150 gr de azúcar glas

–       90 gr chocolate negro


For 12 cupcakes you will need:

-100gr of softened butter

– 180gr of sugar

-2 eggs

-165 gr of whole milk

-150gr of plain flour

– 1 tsp of baking soda

– a pinch of salt

-40gr of cocoa powder


For the buttercream:

–       150gr of softened butter

–       150gr of icing sugar

–       90 gr of dark chocolate

SONY DSC

Para la masa precalentamos el horno a 180ºC y preparamos nuestras 12 cápsulas de papel.

Batimos la mantequilla y el azúcar hasta que sea una mezcla cremosa. Añadimos los huevos y la leche; batimos.

Incorporamos la harina tamizada, el cacao, la sal y el bicarbonato de sodio. Repartimos la masa en nuestras cápsulas de papel sin llenar mas de ¾ .

Horneamos 15 minutos, hasta que al clavar una brocheta salga limpia. Las dejamos enfriar por completo sobre una rejilla.


Pre-heat the oven at 180ºC and get ready 12 paper cases.

Beat the butter and the sugar together until soft and creamy. Beat in the eggs and the milk.

Sift in the floor, cocoa, salt and baking soda and stir to mix. Spoon the mixture into the paper cases.

Bake for 15 minutes and check if they are ready by inserting a cocktail stick to the centre (it needs to come out clean). Leave to cool completely on a wire rack.


image (1)

Para preparar la buttercream, fundimos el chocolate al baño maría y mientras que se templa batimos a máxima velocidad el azúcar tamizado con la mantequilla. Pasados 5 minutos la mezcla se habrá aclarado y habrá aumentado su volumen. Sin dejar de batir, incorporamos el chocolate y batimos 2 minutos más.

Decoramos con ayuda de una manga pastelera y nuestra boquilla favorita (yo he usado de estrella)


Espero que os haya gustado.

Hasta pronto!

Victoria ♥


SONY DSC 

For the buttercream, melt the chocolate over a double boiler, and let it cool. Meanwhile beat the butter and the sugar for 5 minutes, after this time; the mixture will be lighter in colour and increased in size. Without stopping the electric beater, mix in the chocolate and beat for 2 more minutes.

Decorate your cupcakes with a piping bag and your favourite nozzle (I used a star nozzle).


Hope you liked it.

See you soon!

Victoria ♥


SONY DSC