Cupcakes de Halloween #2 / Halloween Cupcakes #2

witches.jpg

Hola! Aquí llega otra entrega de como decorar cupcakes para Halloween!

Hello! Here is an other post on how to decorate cupcakes for Halloween!

Para las cupcakes de bruja boca abajo necesitaréis:

  • buttercream verde
  • cartulina negra
  • lapiz + tijeras
  • pajitas con espirales cortadas por la mitad

For the upside down witch cupcakes you will need:

  • green buttercream
  • black cardboard
  • pencil + pair of scissors
  • spiral straws cut in half

howtowitchlegs.jpg

En la cartulina dibujamos y recortamos los zapatos de bruja.

Hacemos 2 cortes en uno de los lados de la pajita y insertamos el zapatito.

Extendemos la buttercream sobre la cupcake y clavamos con cuidado ambas piernas de la bruja.

On the cardboard draw and cut the witch’s shoes. 

Make two small cuts at one of the ends of the straw and insert the little shoe in them.

Spread some buttercream on the cupcakes and stick the witch’s legs.

Para los cupcakes con el sombrero de bruja necesitaréis:

  • buttercream naranja
  • fondant negro
  • fondant naranja
  • fondant blanco
  • oreos machacadas

For the witch’s hat cupcakes you will need:

  • orange buttercream
  • black fondant
  • orange fondant
  • white fondant
  • crushed oreos

witchhat1.jpg

Empezamos haciendo un disco con el fondant negro, esta será la base del sombrero. Después hacemos un cono y le vamos dando forma de garfio. Con un poco de buttercream o de agua pegamos ambas partes.

Para la banda naranja, hacemos un espagueti con el fondant y lo aplastamos. Lo enrolamos cubriendo la union entre la base y el cono y sellamos bien.

Para la hebilla hacemos un espagueti muy muy fino con el fondant blanco y cortamos cuatro trocitos que pegaremos con un poquito de agua a la banda naranja.

Start by making a disk with the black fondant, this will be the base of the hat. Then make a cone and give it the shape of a hook. With some buttercream or water stick both parts together.

For the sash, make a spaghetti with the orange fondant. flatten it and make it go around the union of the black base with the black cone.

For the buckle, make a really thin spaghetti and cut four small pieces. With a little bit of water stick them on the orange sash.

witchhat.jpg

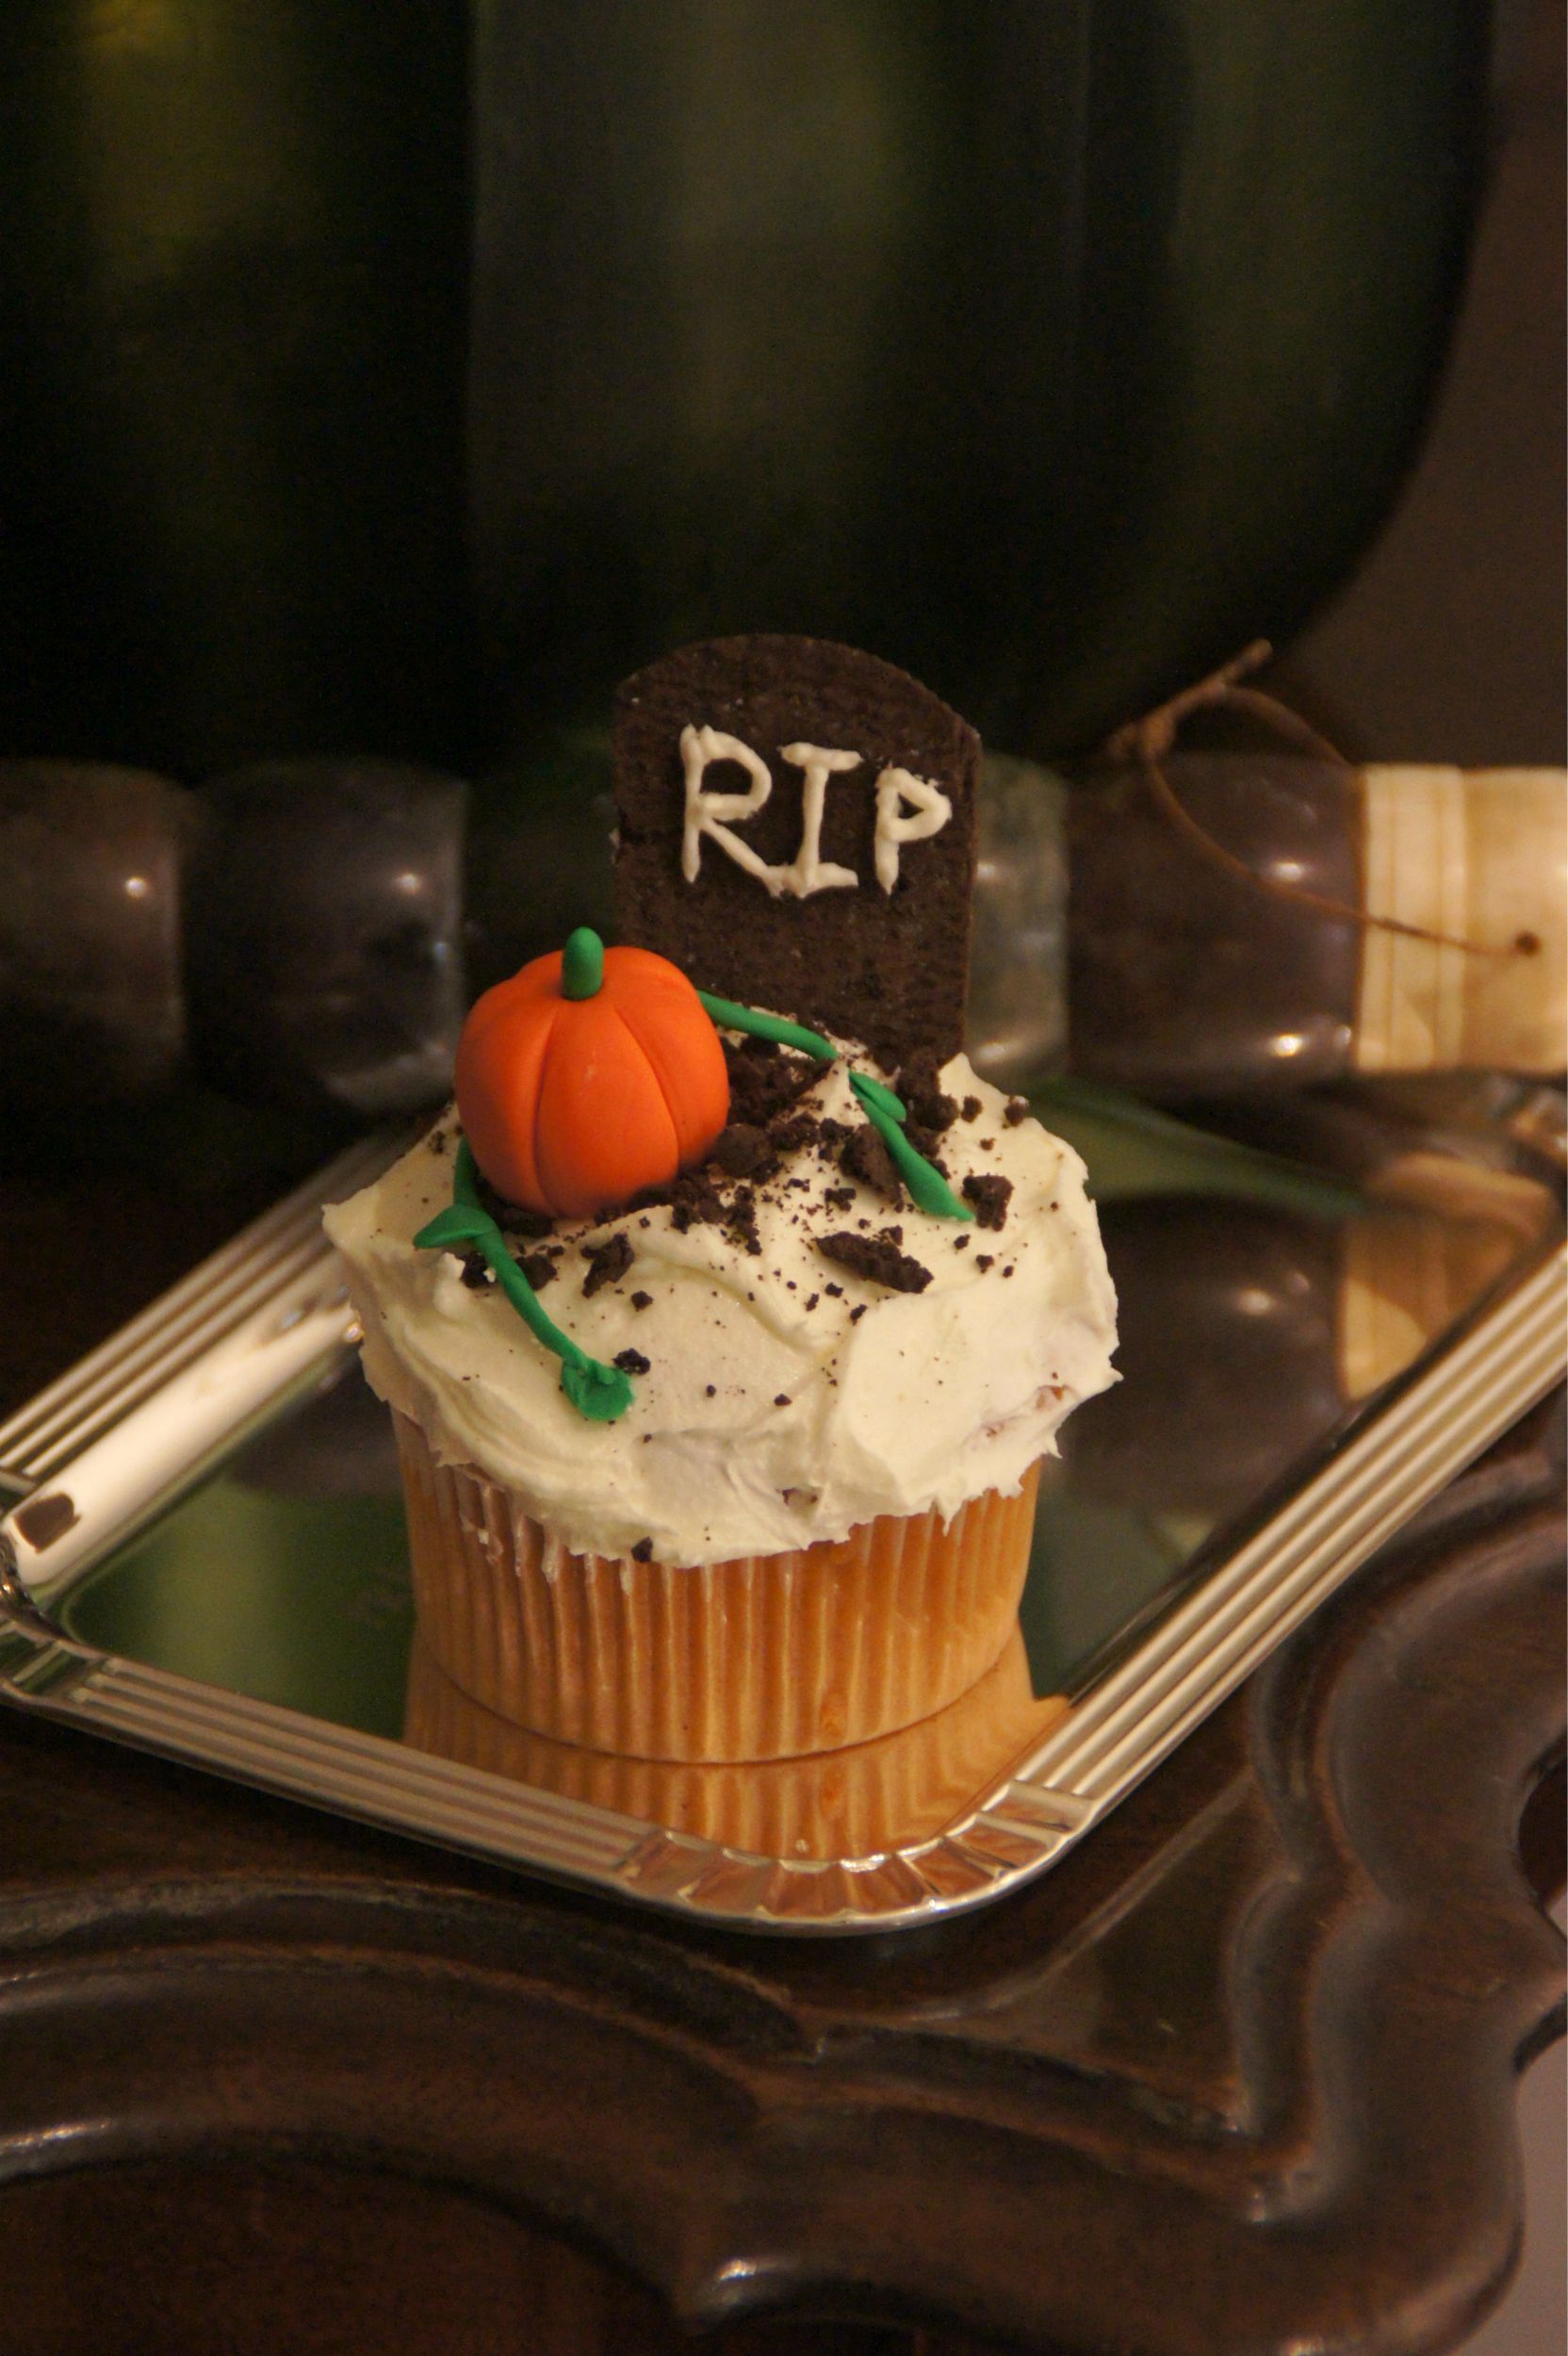
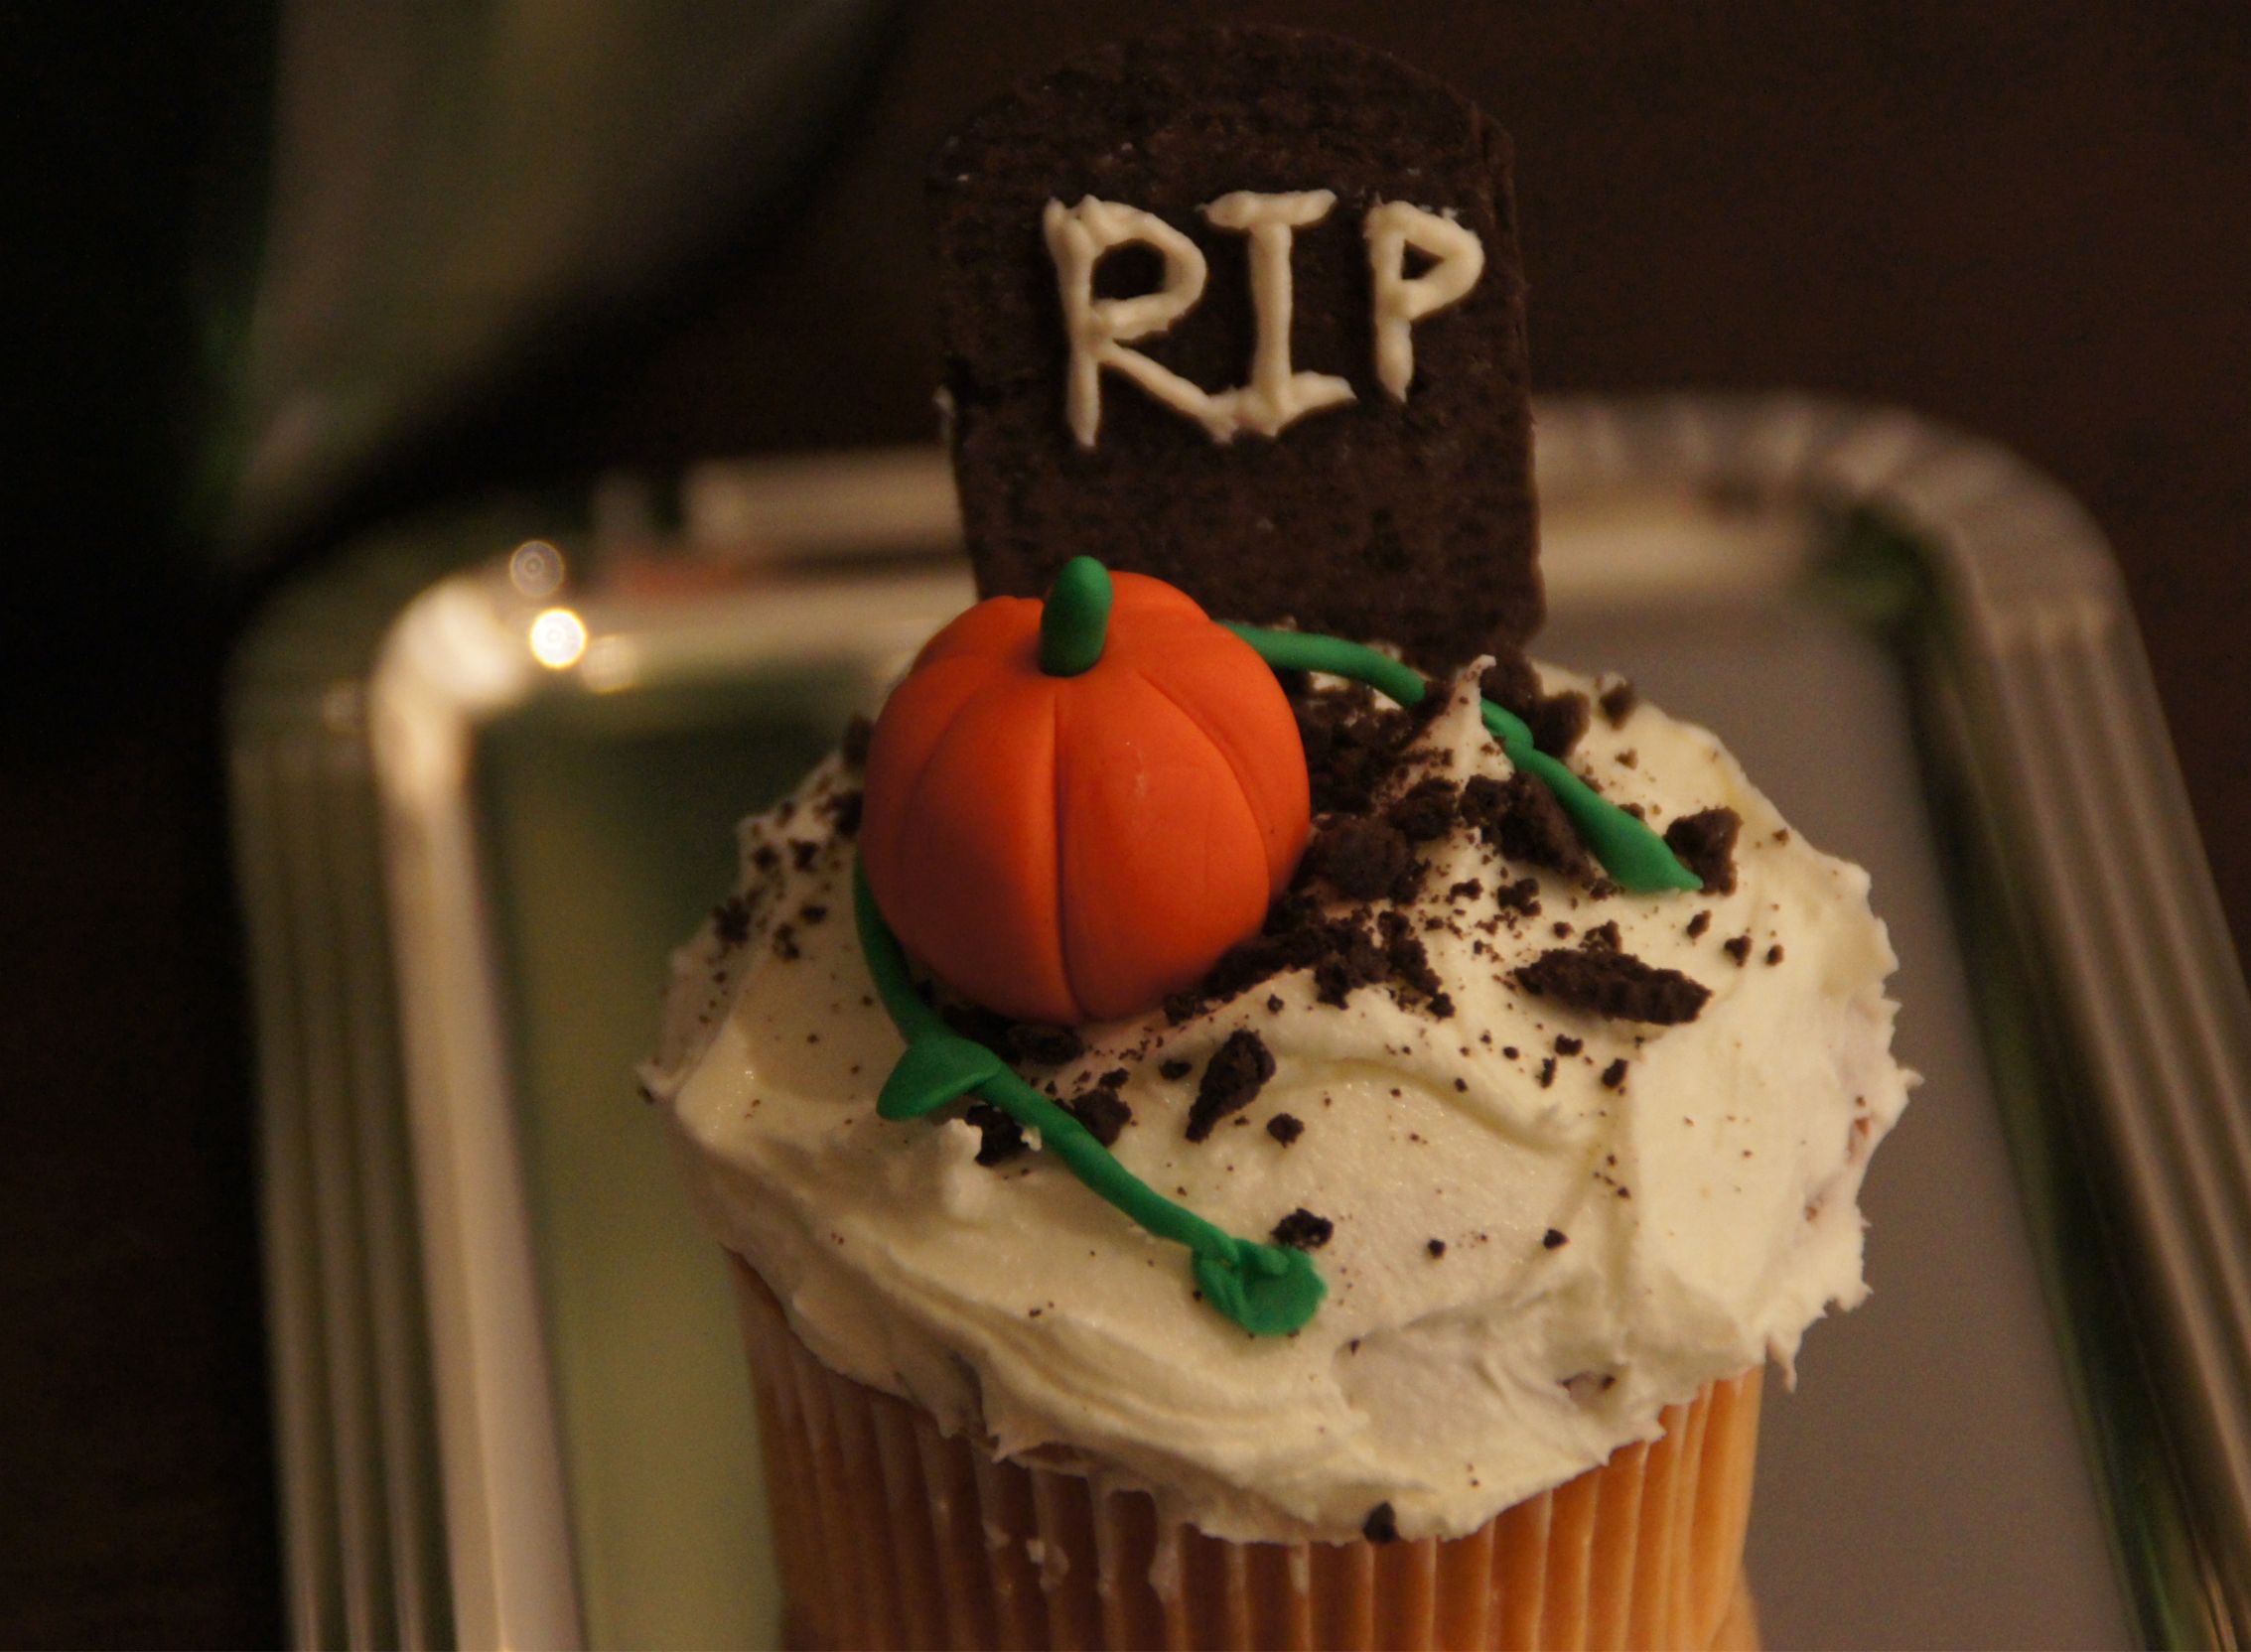
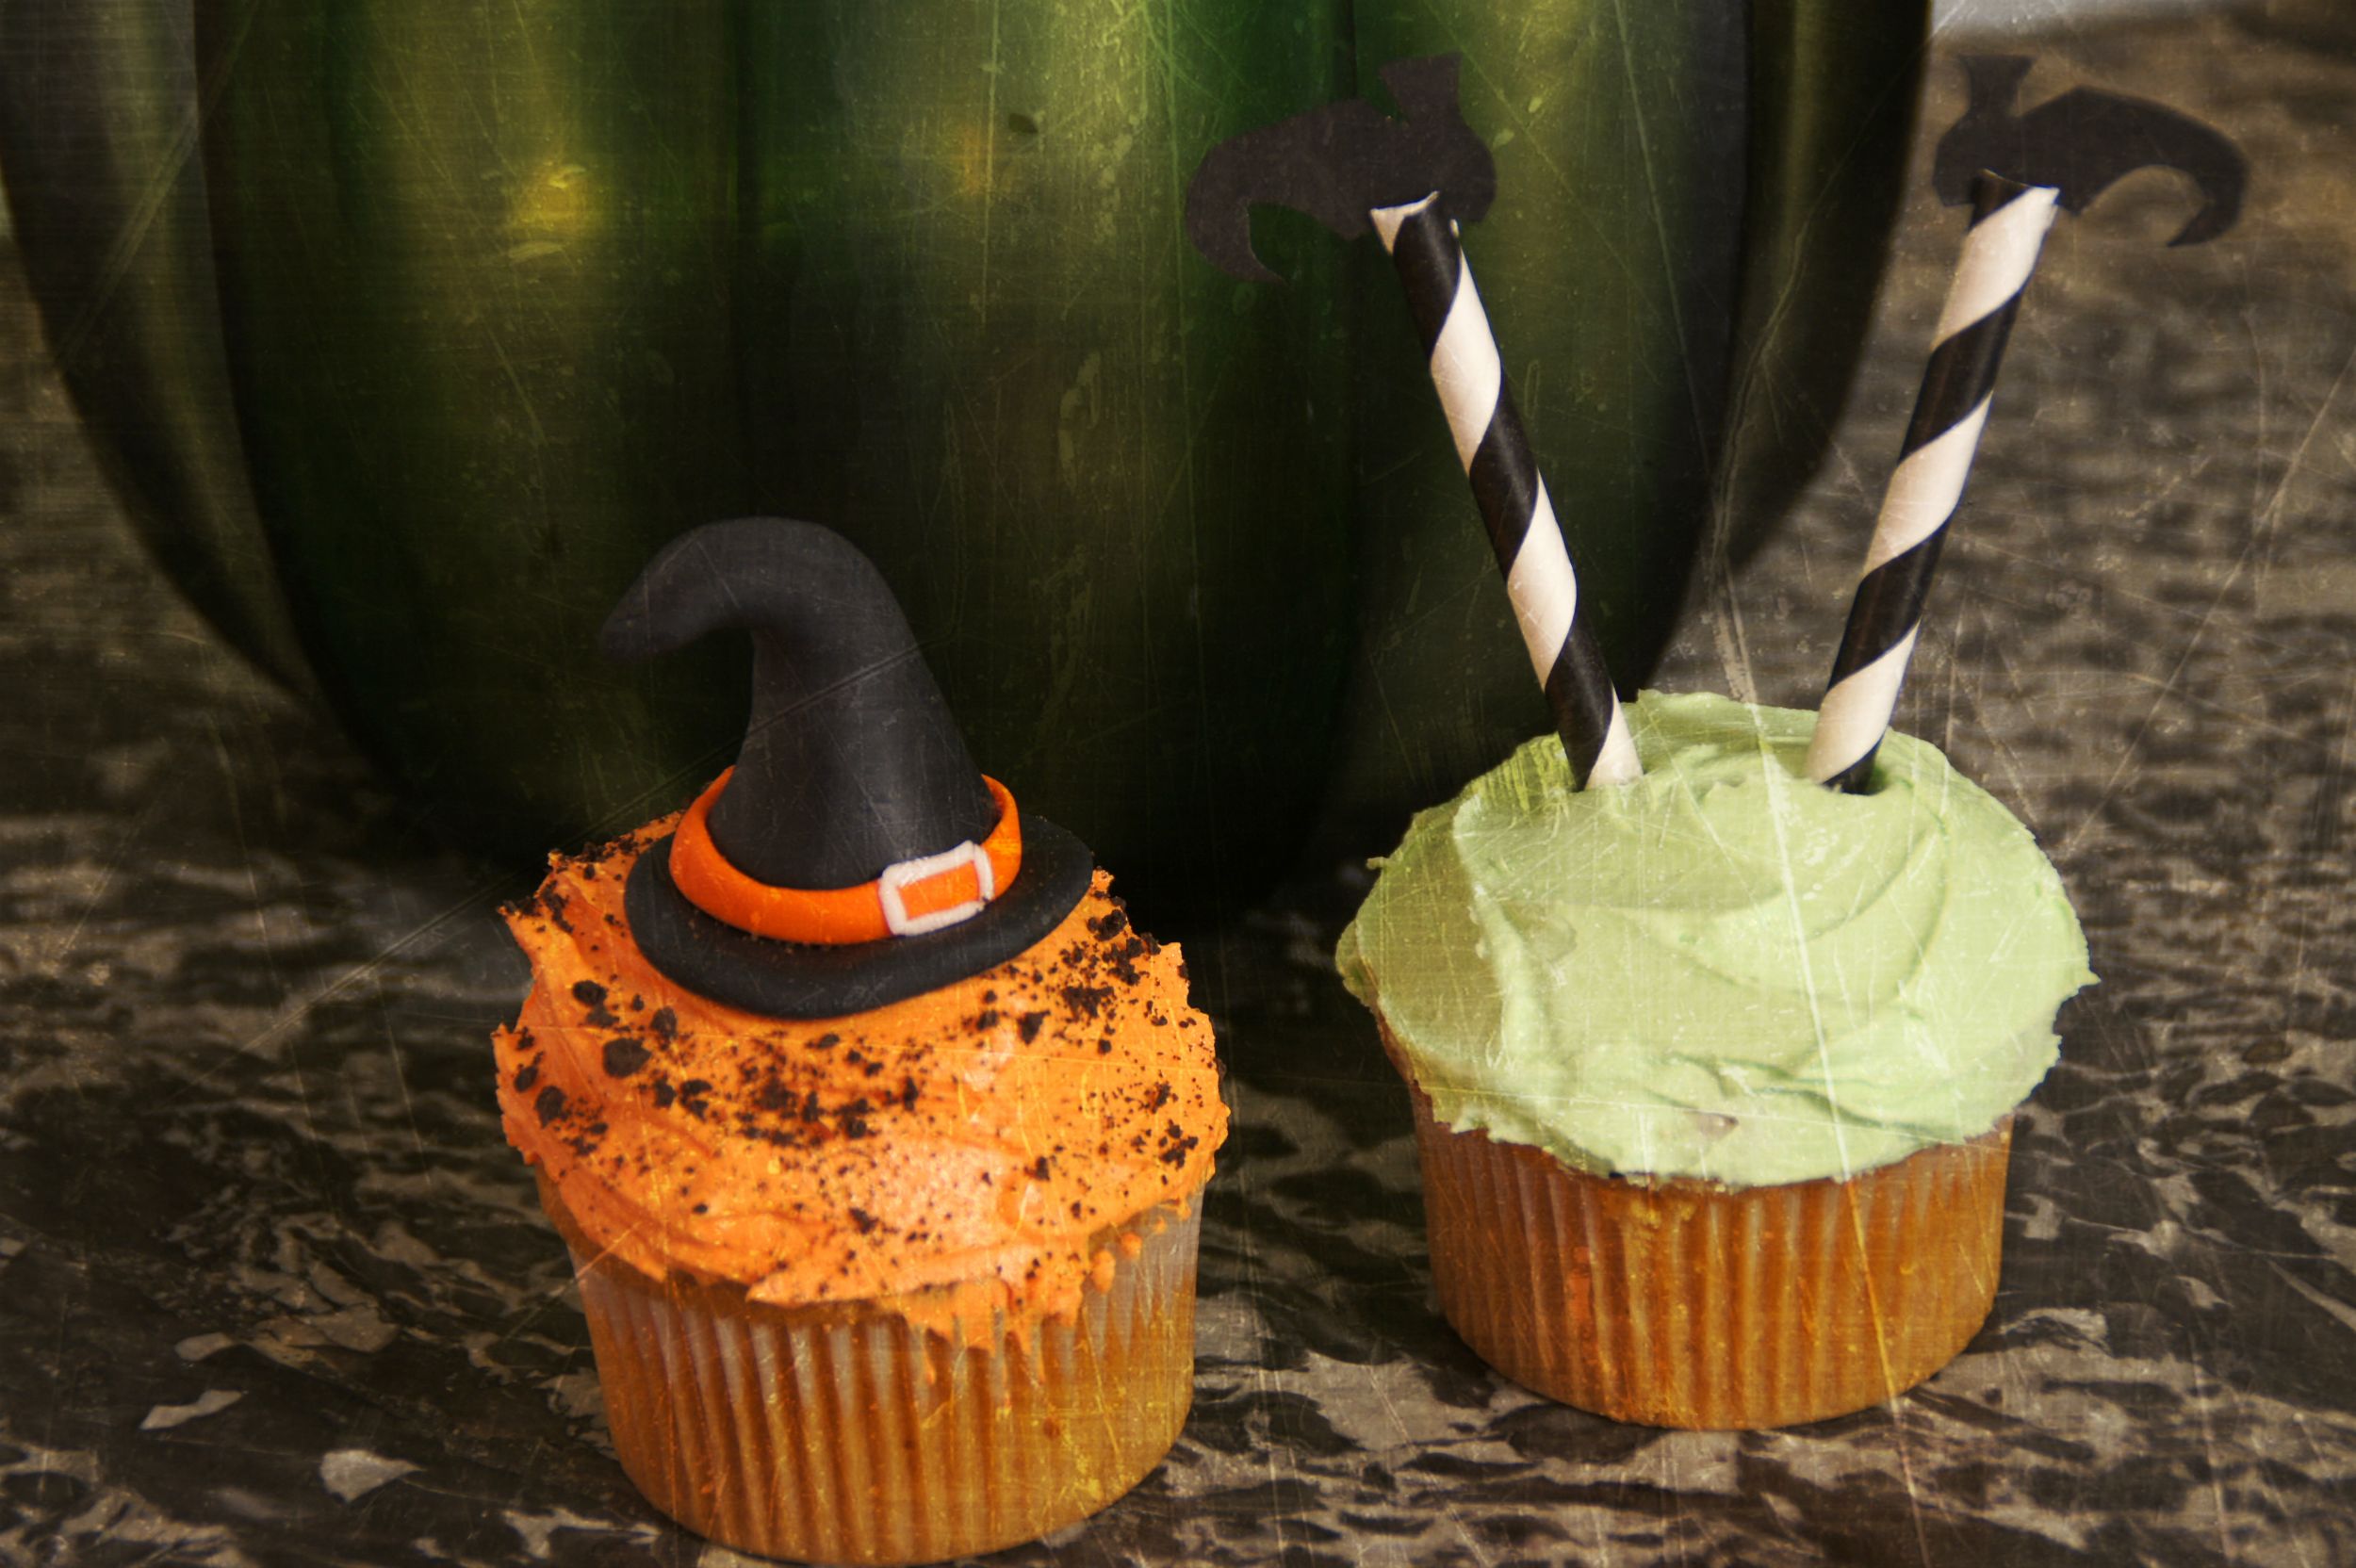
Cubrimos la cupcake con buttercream, espolvoreamos las oreos y colocamos el sombrero de bruja. Ya está!

Spread some buttercream on the cupcake, sprinkle some crushed oreos and place the hat on top of it. You are done!

Gracias por leerme!

Victoria ♥

Thanks for stopping by!

Victoria ♥

Cupcakes de Halloween #1 / Halloween cupcakes #1

cupcakerip.jpg

Hola! Volvemos con un post especial Halloween! Esta vez las protagonistas son las cupcakes. En este post y en el siguiente os enseñaré unos tutoriales para decorar cupcakes que den mucho miedo!

Hey! Here I am again with another Halloween post. But this time we will be decorating cupcakes! On this post and the next one, I will show you different ways of decorating you Halloween cupcakes!
Para estas cupcakes de cementerio necesitarás:

  • buttercream blanco
  • oreos machacadas
  • tapas de oreo con 2 lados cortados
  • fondant naranja
  • fondant verde

For these graveyard cupcakes you will need:

  • white buttercream
  • crushed oreos
  • oreos lids (no cream) cut on the sides 
  • orange fondant
  • green fondant

cupcakeripclose.jpg
Empezamos escribiendo RIP con buttercream en la tapa de oreo que habremos cortado ligeramente por los costados para que parezca una lapida. Para ello podemos meter parte de la buttercream en un biberón o en una manga pastelera con boquilla fina.

Cubrimos la cupcake con buttercream sin que quede perfecta. Es mejor que tenga aspecto desordenado.

First, write RIP using some buttercream on the oreo lid that we have trimmed on the edges so that it looks like a tombstone.

Cover the cupcake with some buttercream, it doesn’t need to be perfect. In fact it is better if it looks messy.

howtopumkin.jpg
Para la calabaza hacemos una bolita con el fondant naranja y con un palillo le hacemos un agujero arriba. Con la hoja de un cuchillo le vamos haciendo lineas de arriba hacia abajo. Damos forma a un trocito de fondant verde y lo intruducimos en el agujero como si fuese el tallo.
Hacemos una culebrilla ,que será una raíz verde, con otro trocito de fondant verde y le añadimos unas hojas aplastando unas bolitas de fondant.

For the pumpkin we make a small ball and make a hole on the top. Using a knife we draw some lines from the top to the bottom. Then with some green fondant we make a small stalk and insert it in the little hole.
Take another piece of green fondant and make a little snake, that will be a green root, add some leaves by squashing little balls of fondant and sticking them to the root.

cupcakehowto1.jpg
Espolvoreamos oreos machacadas sobre la buttercream. Depues incrustamos la lapida y colocamos la calabaza y las raices verdes.

Sprinkle some crushed oreos on the buttercream. Then insert the grave and place the pumpkin and the green root.

Y listo! Espero que os haya gustado!
Victoria ♥

and that’s it! Hope you liked it!
Victoria ♥

Carta Flor / Flower Card

SONY DSC


Hace unos días mi tía, que es una manitas, me enseñó una tarjeta que había hecho como felicitación de cumpleaños . A primeras parece solo una flor pero al abrirla se descubre el texto o dibujos que queramos incluir.


A few days ago my aunt, who is very crafty, showed me a birthday card that she had made. A first glance it looks like a simple flower but when you open it, you discover a message inside it.

flores1


Vais a necesitar:

–       papel o cartulina del color o diseño que os guste más

–       tijeras

–       un lápiz

–       un compás

–       una regla

–       un botón y un cordón (opcional)


You will need:

–       paper or cardboard of your favorite color

–       a pair of scissors

–       a pencil

–       a pair of compasses

–       a ruler

–       a button and a piece of string (optional)

SONY DSC

Aquí os dejo el video que yo utilicé como guía y también un patrón que podéis imprimir y calcar en vuestra cartulina, para ahorraos tener que dibujarlo.


Here is the video I used and a pattern you can print and copy on your cardboard instead of drawing it yourself.

patron carta flor


Podéis hacerlas de varios tamaños y escribir lo que queráis dentro: felicitaciones, notas de agradecimiento, invitaciones a fiestas… lo que se os ocurra.

Espero que os haya gustado!

Victoria  ♥


You can make them bigger or smaller and use them as birthday cards, thank you notes or invitations.

Hope you liked it!

Victoria  ♥

SONY DSC

Correa de tela para la cámara/ Camera strap

IMG_5829


Hace un par de semanas vi en una tienda unas correas de tela para levar colgada la cámara de fotos al cuello. Me parecieron originales y mas bonitas que la típica corea negra. Pensé en comprarla pero me di cuenta de que era bastante cara para la poca cosa que era y decidí intentar hacerla en casa. Con la ayuda de mi abuela, que me dejó su maquina de coser, me puse manos a la obra y la verdad que estoy satisfecha con el resultado. Os animo a que lo intentéis!

Vamos a necesitar:

–       2 cintas de tela de 10cm de ancho y 130cm de largo

–       hilo de coser de un tono similar al color de las telas

–       maquina de coser (aunque por supuesto también se puede hacer a mano)


A couple weeks ago I went into a shop a saw some camera straps made of printed fabric. I found them original and much nicer than the typical black camera strap we usually wear around our neck. I thought of buying it but it was pretty expensive for what it was so I decided to try and make my own one. With my grandmother’s help, who lent me her sewing machine I managed to do it and I was happy with the result. You will need:

–       2 pieces of fabric of 10cm in width and 130cm long

–       Sewing thread of a similar colour to the fabric

–       A sewing machine (but of course you can also hand sew it)

SONY DSC


Superponemos las tiras de tela con el lado que en teoría iría por dentro mirando hacia fuera y las planchamos para que no haya ni una arruga. Colocamos en la maquina y comenzamos a coser. Una vez que hayamos cosido casi todo y nos queden unos 4 dedos, paramos. Cortamos el hilo y con cuidado damos la vuelta a nuestra correa por la apertura que nos queda sin coser, para que no esté del revés. Cuando la tengamos dada la vuelta terminamos de coser a mano el trocito que nos queda.

SONY DSC

First we superimpose our fabric pieces with the printed side facing the inside and we give then a quick ironing to remove any wrinkles. We then put it in he sewing machine and sew until only 6cm are left. Cut the thread and turn the whole thing inside out using the slit you haven’t sewed yet.  To finish hand sew the remaining opening and iron again.

SONY DSC


Volvemos a planchar y pasamos por la ranura lateral de nuestra cámara de fotos y anudamos fuerte para que no se suelte. Repetimos en el otro lado de la cámara.

Y ya tenéis vuestra correa lista!

Espero que os haya gustado y que os animéis a hacerla!

Gracias por leerme

Victoria

IMG_5827


Pass the strap thought he small camera and tie a knot. Repeat on the other side. Your new camera strap is now ready!

I hope you liked it and decide to try it!

Thanks for stopping by

Victoria

IMG_5830